Friday, November 16, 2012

Because I've Always Wanted to See a Blue Door.

Today's installment of Give Me Attention features an often-used door in a seldom-used basement. Behind this door is the only unfinished room in the house, and it contains our storage and laundry machines. So with two kids, the room definitely gets a workout. And now that i'm seeing in print just how much this room is used, maybe i should make it pretty? Moving on, here's the door:
(The door on the left leads to a powder room.)
I started out by removing that sexy brass doorknob and wiping everything down with a damp cloth.

Weird sidenote, i told Chris i wanted to paint this door robin's egg blue, a color i decided upon instantly and out of nowhere. So one day as we were trolling through The Deeps (Home Depot for you non-abbrevers) i found this paint on the scrap shelves:
A quart of Behr interior eggshell enamel for $2?? Meant to be.
I would have preferred a satin (as opposed to eggshell) with this door since i clean it often, but i wasn't going to argue with the $2 price. So anyhoots, i gathered my supplies. The roller i chose is one of those really smooth ones that you'd use to paint furniture. I chose that roller for two reasons: 1, i'm lazy and didn't feel like looking around for another roller, and 2., i'm impatient and didn't feel like waiting until the next time i went out to pick up another roller. Smooth it was.

I started with painting my outlines, which would be the areas around the windows and the edge of the door that meets the hinges.
I used a paint card as a barrier between my brush and the trim because i hate taping. I hate taping as much as i hate painting closets, or getting punched in the face.

Here's what it looked like when the outlines were painted:

Now here comes the fun part: drinking. Sike, that's later. It's time for the roller:

And here's what it looked like when that part was done:

Almost done! I knew i wanted to do a second coat, so while this was drying, i took those brass doorknobs out back and shot 'em.  ....with silver spraypaint! Har harrr.

Lucky for me, i already had the spraypaint on-hand. So after i laid down a cloth tarp, i shoved the spikes into the soft ground so i could get everything at once. Here's what they looked like after one coat:

Back to the door. After letting the paint dry and then doing a second coat and letting that dry as well, it was time to clean off the windows. As previously mentioned, i don't tape if i don't have to. Plus, the tape probably wouldn't have been 100% perfect anyway, so i just cut to the case and got at it with a blade. First, i scored down the glass so the paint wouldn't be tempted to peel off the door.

Then i got at it with the blade. Story of my life, amiright?

After that was done, i put the doorknobs back on.

And there you have it. My robins egg blue door. Homegirl does not play.

And here are my Before&After shots so you can see them right next to each other.


Total cost for this whole project: $2, since i had the spraypaint, roller, and tray liner on-hand. It's too bad that this door doesn't lead to somewhere more fun, like a room-sized moonbounce or a Krispy Kreme...


Wednesday, November 14, 2012

Kid Table Refinish

This refinish is 11 months in the making. My daughter got this for Christmas last year and i finally got around to making it pretty.


First, this table & chair set is LATT from Ikea and it cost $20 for the set. It's rather plain, but luckily it responds to a makeover rather well. Kind of like me. Second, i already had the spraypaint on-hand, so this project was free.

I wanted to keep the tops white, so i taped construction paper to the tops to protect it from the paint. Unfortunately for me, i'm pretty impatient so i used packing tape instead of waiting to pick up masking tape the next time i went out. It was a HUGE pain, but still better than waiting.


 And this is what it looked like all taped up.


So i took it outside and laid it on a heavy cloth tarp to spray it. I chose bronze for the table (it has a metallic finish i'm not sure you can really see in the pics) and blue for the chairs.


Much less of an eyesore, amiright??


Monday, October 22, 2012

"What a Wonderful Place to Pee."

One of my favorite transformations we've done in this house is turn the powder room into a cuter powder room. That room before was...bad. Real bad.


The first thing we had to do was gut it. Got rid of the toilet, which - trust me - has seen better days. And that 1982 vanity had to go as well. I don't know why someone would need a ridiculous amount of storage for a half-bath, but i'm sure there's a cuter way to do it.

But anyway, gutting it included the premium (sike) linoleum tile that lined that poor, poor floor, and laying down some backer board.


We chose to lay slate tile. The hardest most pain-in-the-ass tile we have in the house (it's "natural" and uneven thus making it both hard to lay and to clean), but also the best looking.


Then came time for us to paint. We chose a light blue, because we're rebels. That's me in the pic below...and you can tell this project was done way back in 2008 because i have the short hair. Write that down.


VOILA. We got that vase at a flea market in Orlando for some reason. But it's good at holding sticks, i guess. We also got thicker baseboards (we did that all throughout the house) which classes it up that much more.


And we solved our storage crisis (?) sans vanity. See that vase up on the shelf? That actually started out as a candy-holder for our "candy bar" wedding favors. Now it holds toilet paper. Upgrade for us, downgrade for the vase.


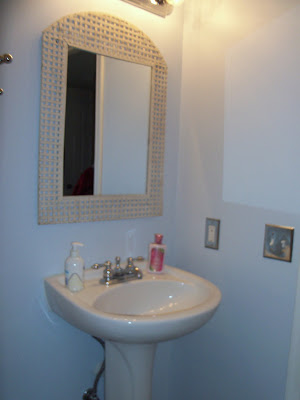
We ended up keeping the original mirror. I don't know why, but i really like it...the whole white/cream mix thing.


And this...THIS...is my favorite part. We put up some crown moulding and painted the ceiling taupe. The moulding gives the room character while the darker color brings the ceiling down a bit, making the room seem less tube-like.


Here are the befores&afters:

Before

After

Before

After
So here's a formal invitation: come pee in our house. Let us know what you think.


Tuesday, October 2, 2012

Belly Casting

During my first pregnancy, my friends thought it'd be a good idea to get me a belly casting kit for Christmas to document my baby-smuggling. So i did it:

And it sat alone in the basement for 11 months. It wasn't until my daughter's first birthday that i decided to do something with it, so i grabbed by vase of fabric scraps and fabri-tac'd them to the cast.


And then i put it on display at her first birthday party to make everyone uncomfortable. (It worked.)

The second time around, i made a belly cast only because i did it the first time and i didn't want the second kid to be like, "what the eff, mom?" And i "upholstered" that one, too.

So now i have two belly casts sitting in the basement - don't know what to name them. If anyone out there has any suggestions with what to do with these casts (besides hanging them on the wall which i'll end up doing if i can't think of anything else, or turning them over and repurposing them as serving bowls), i'm all ears!


Monday, October 1, 2012

Fancy That.

I love silhouettes. I also love German chocolate. This post is about the former.

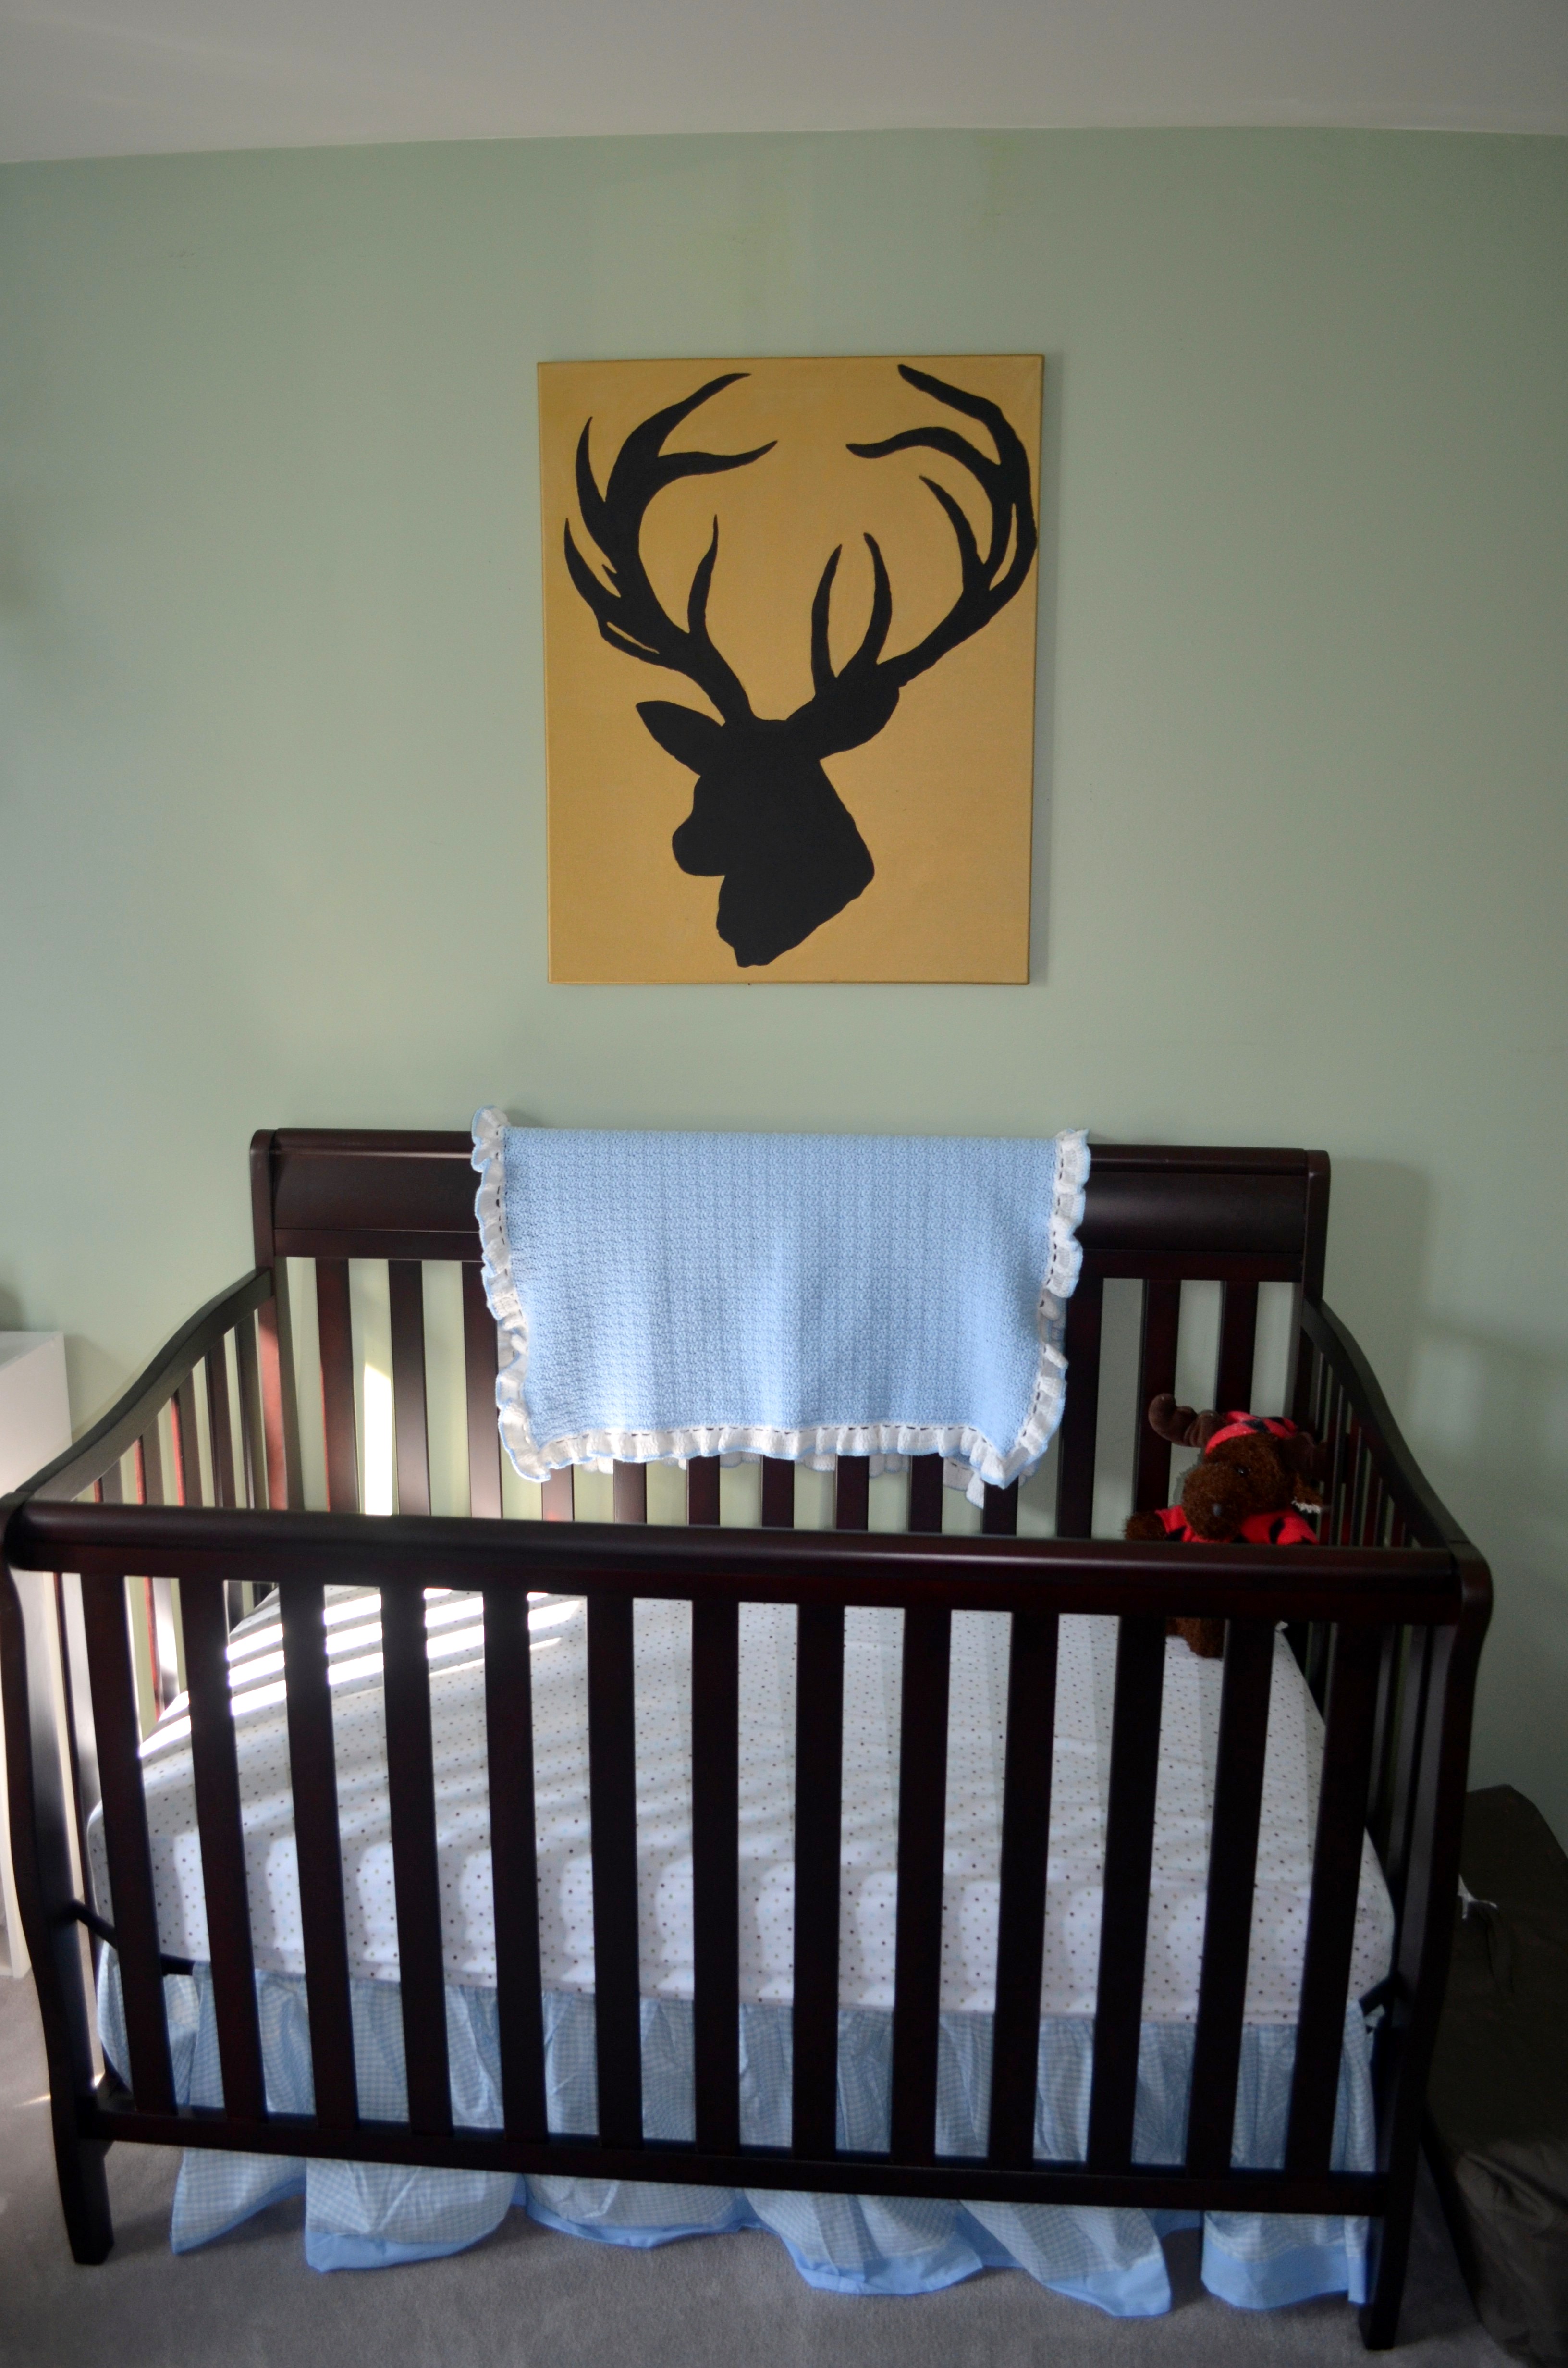
I've kind of taken to painting my own silhouettes ever since i made this one for my son's room:
It was totally free as i already had the gold and the black paint on hand, and i found the brand-new-still-in-the-packaging canvas on the curb for trash day. You heard me...i stole it from the trash. It was also free-hand, as you can probably tell because his antlers look totally different.
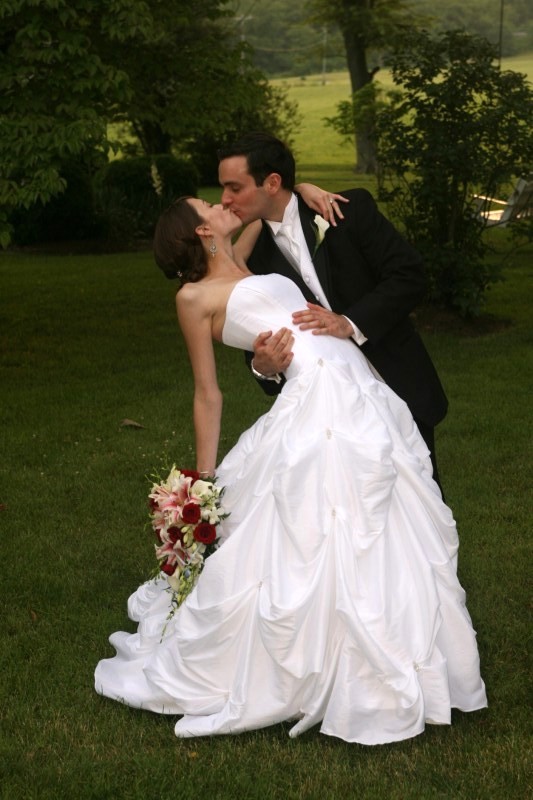
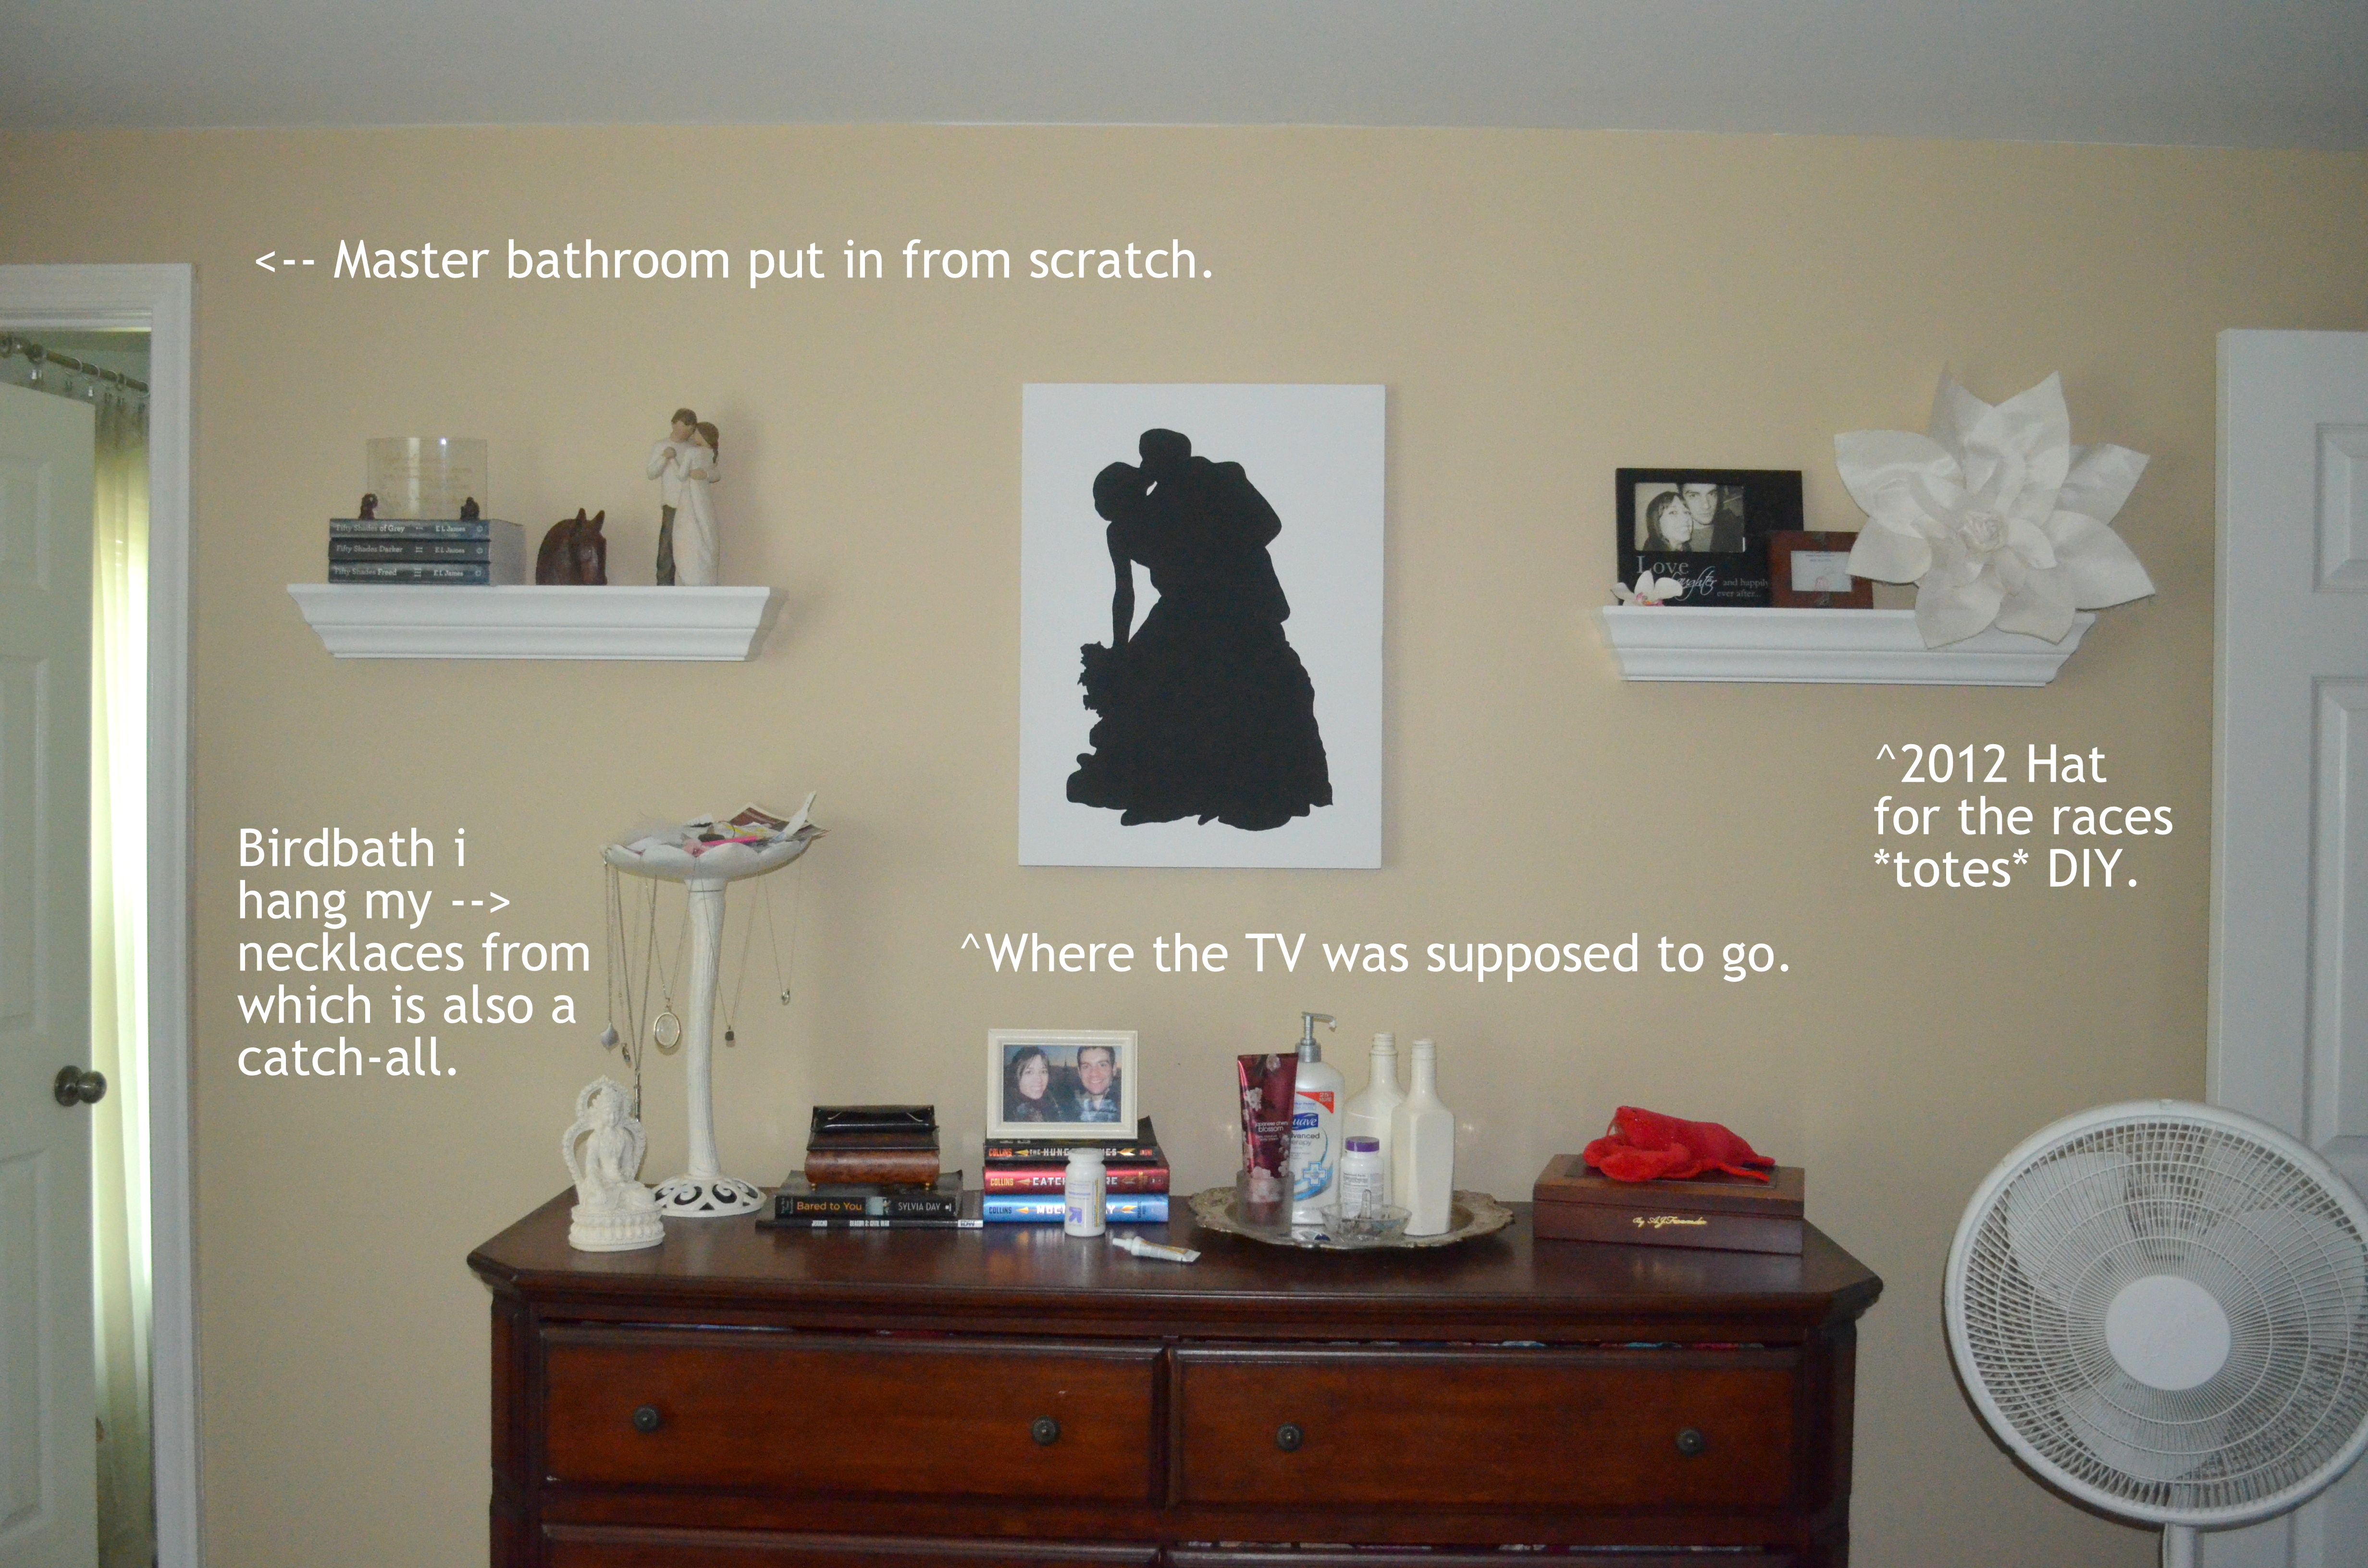
Moving on, i was looking for something to fill the enormous void on our bedroom wall since we'll never ever get around to mounting a TV on the wall. Enter my favorite wedding picture:
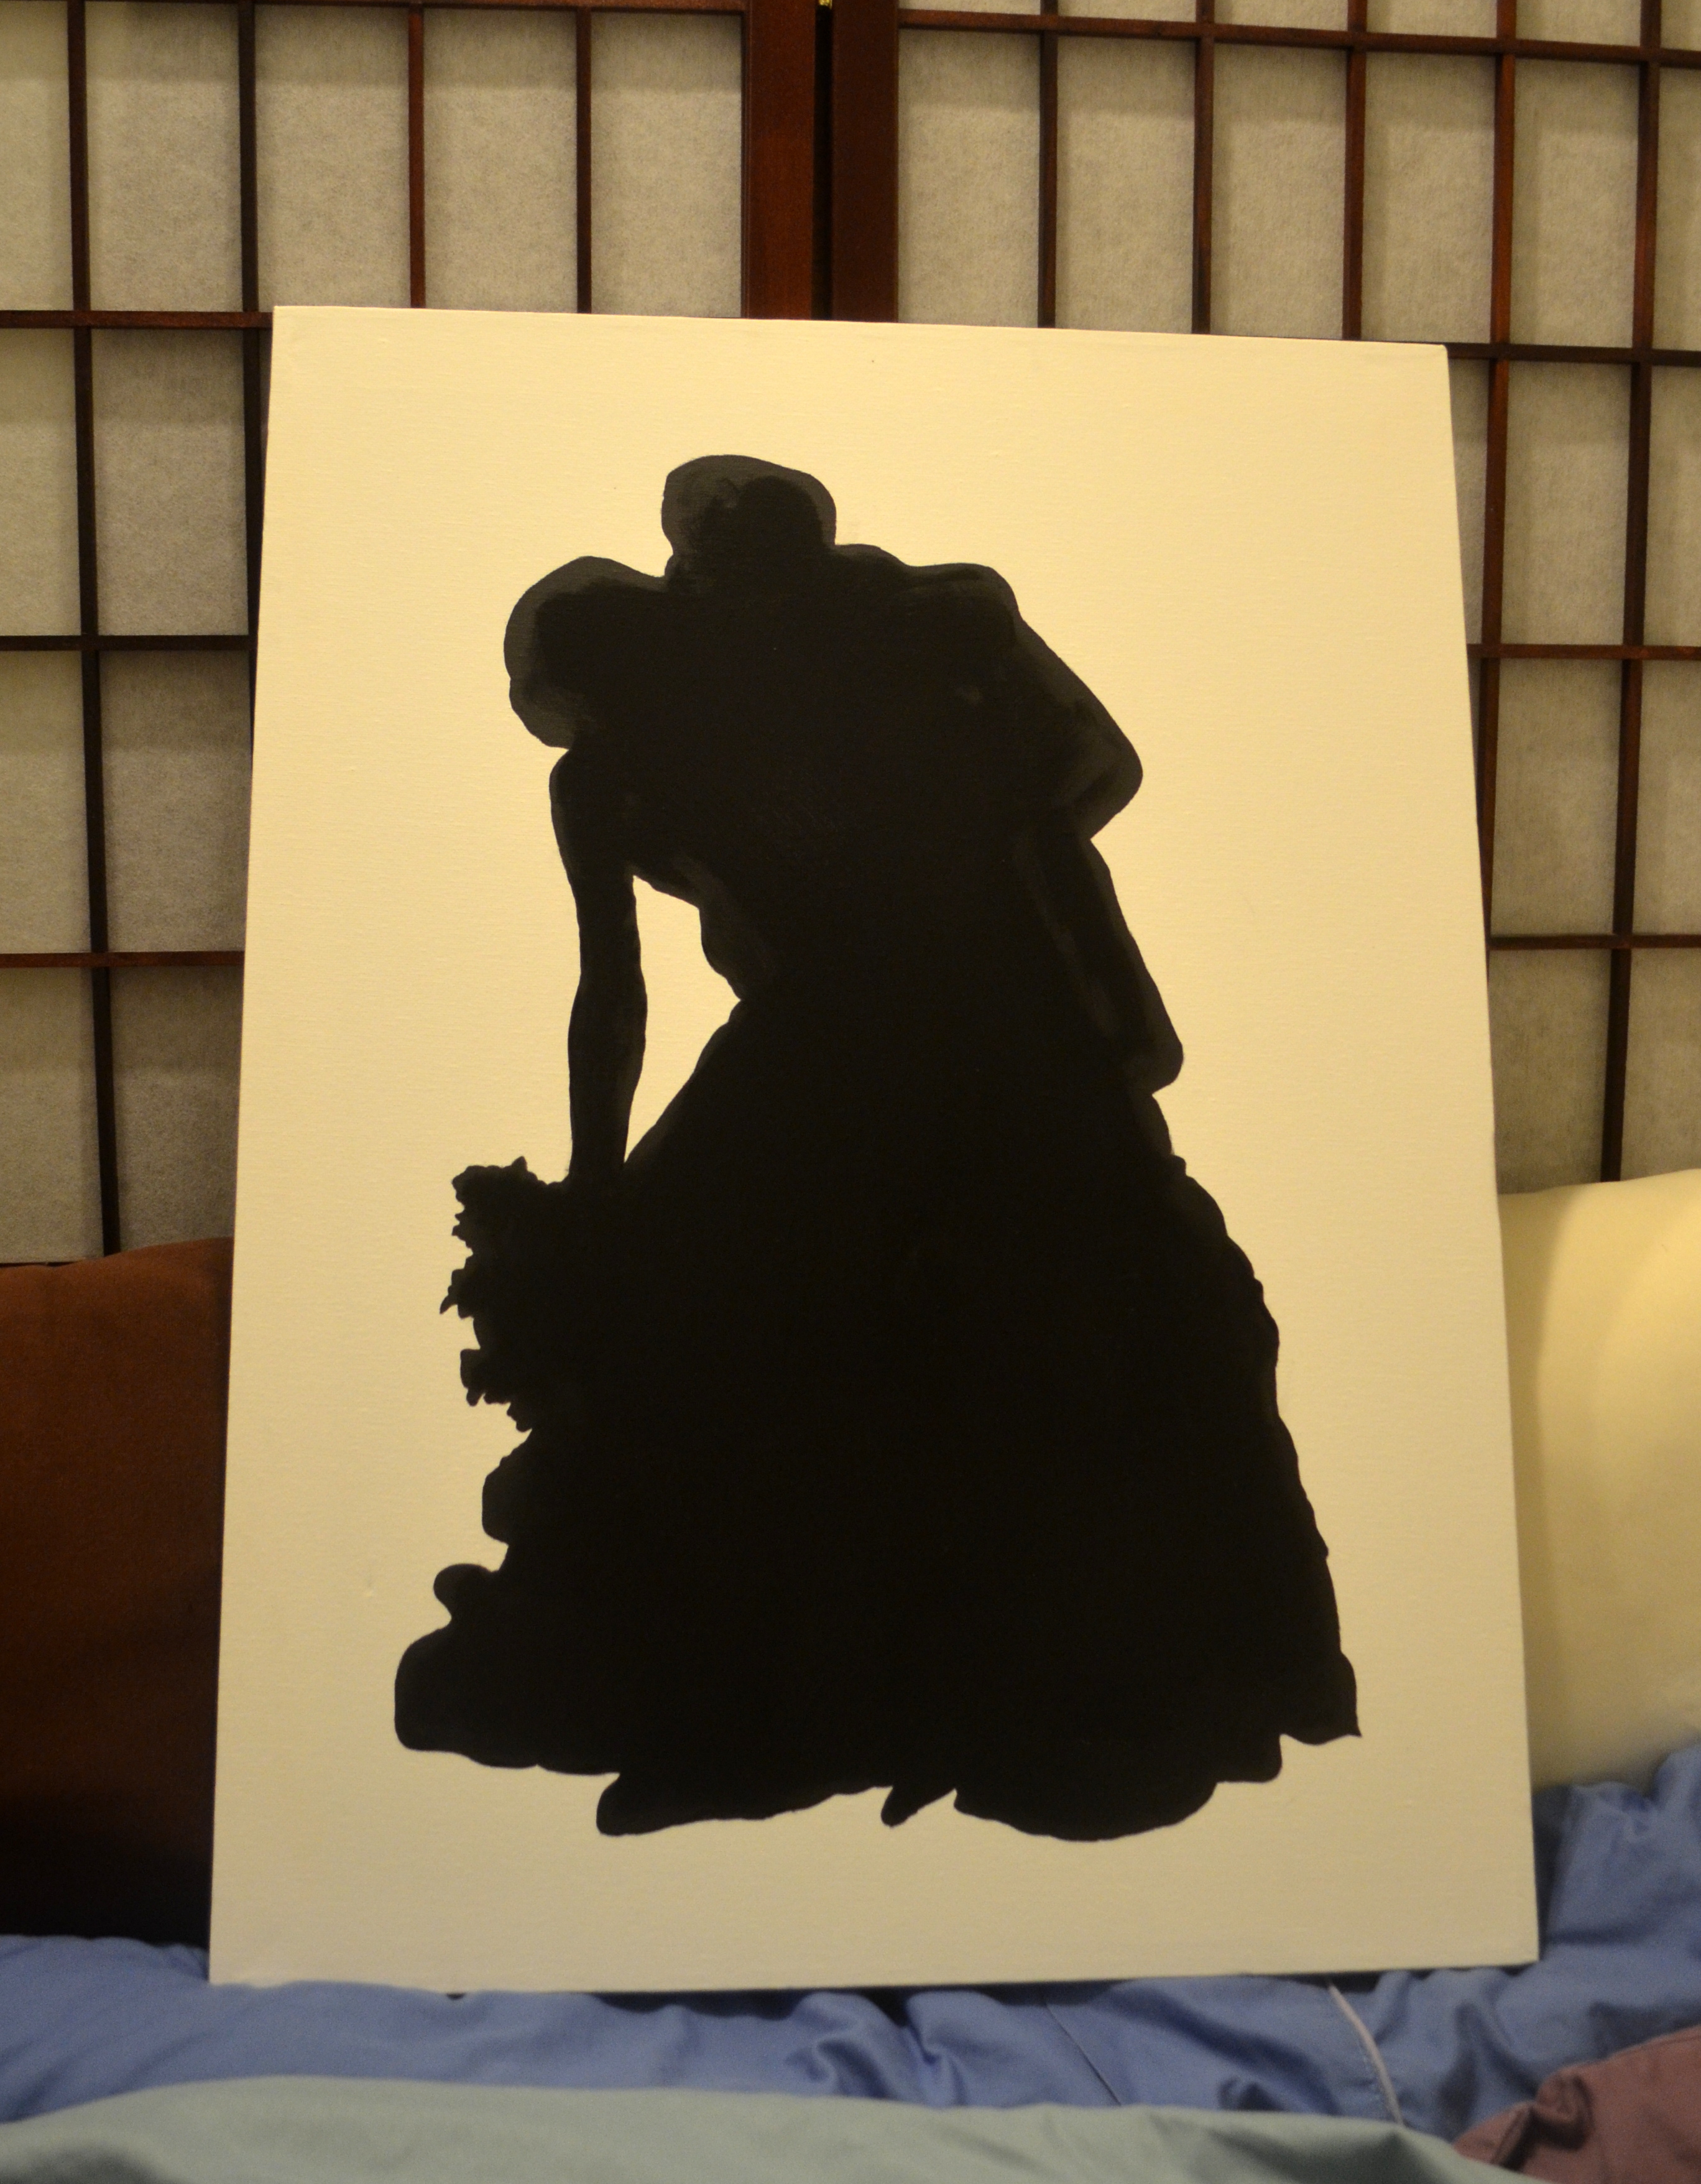
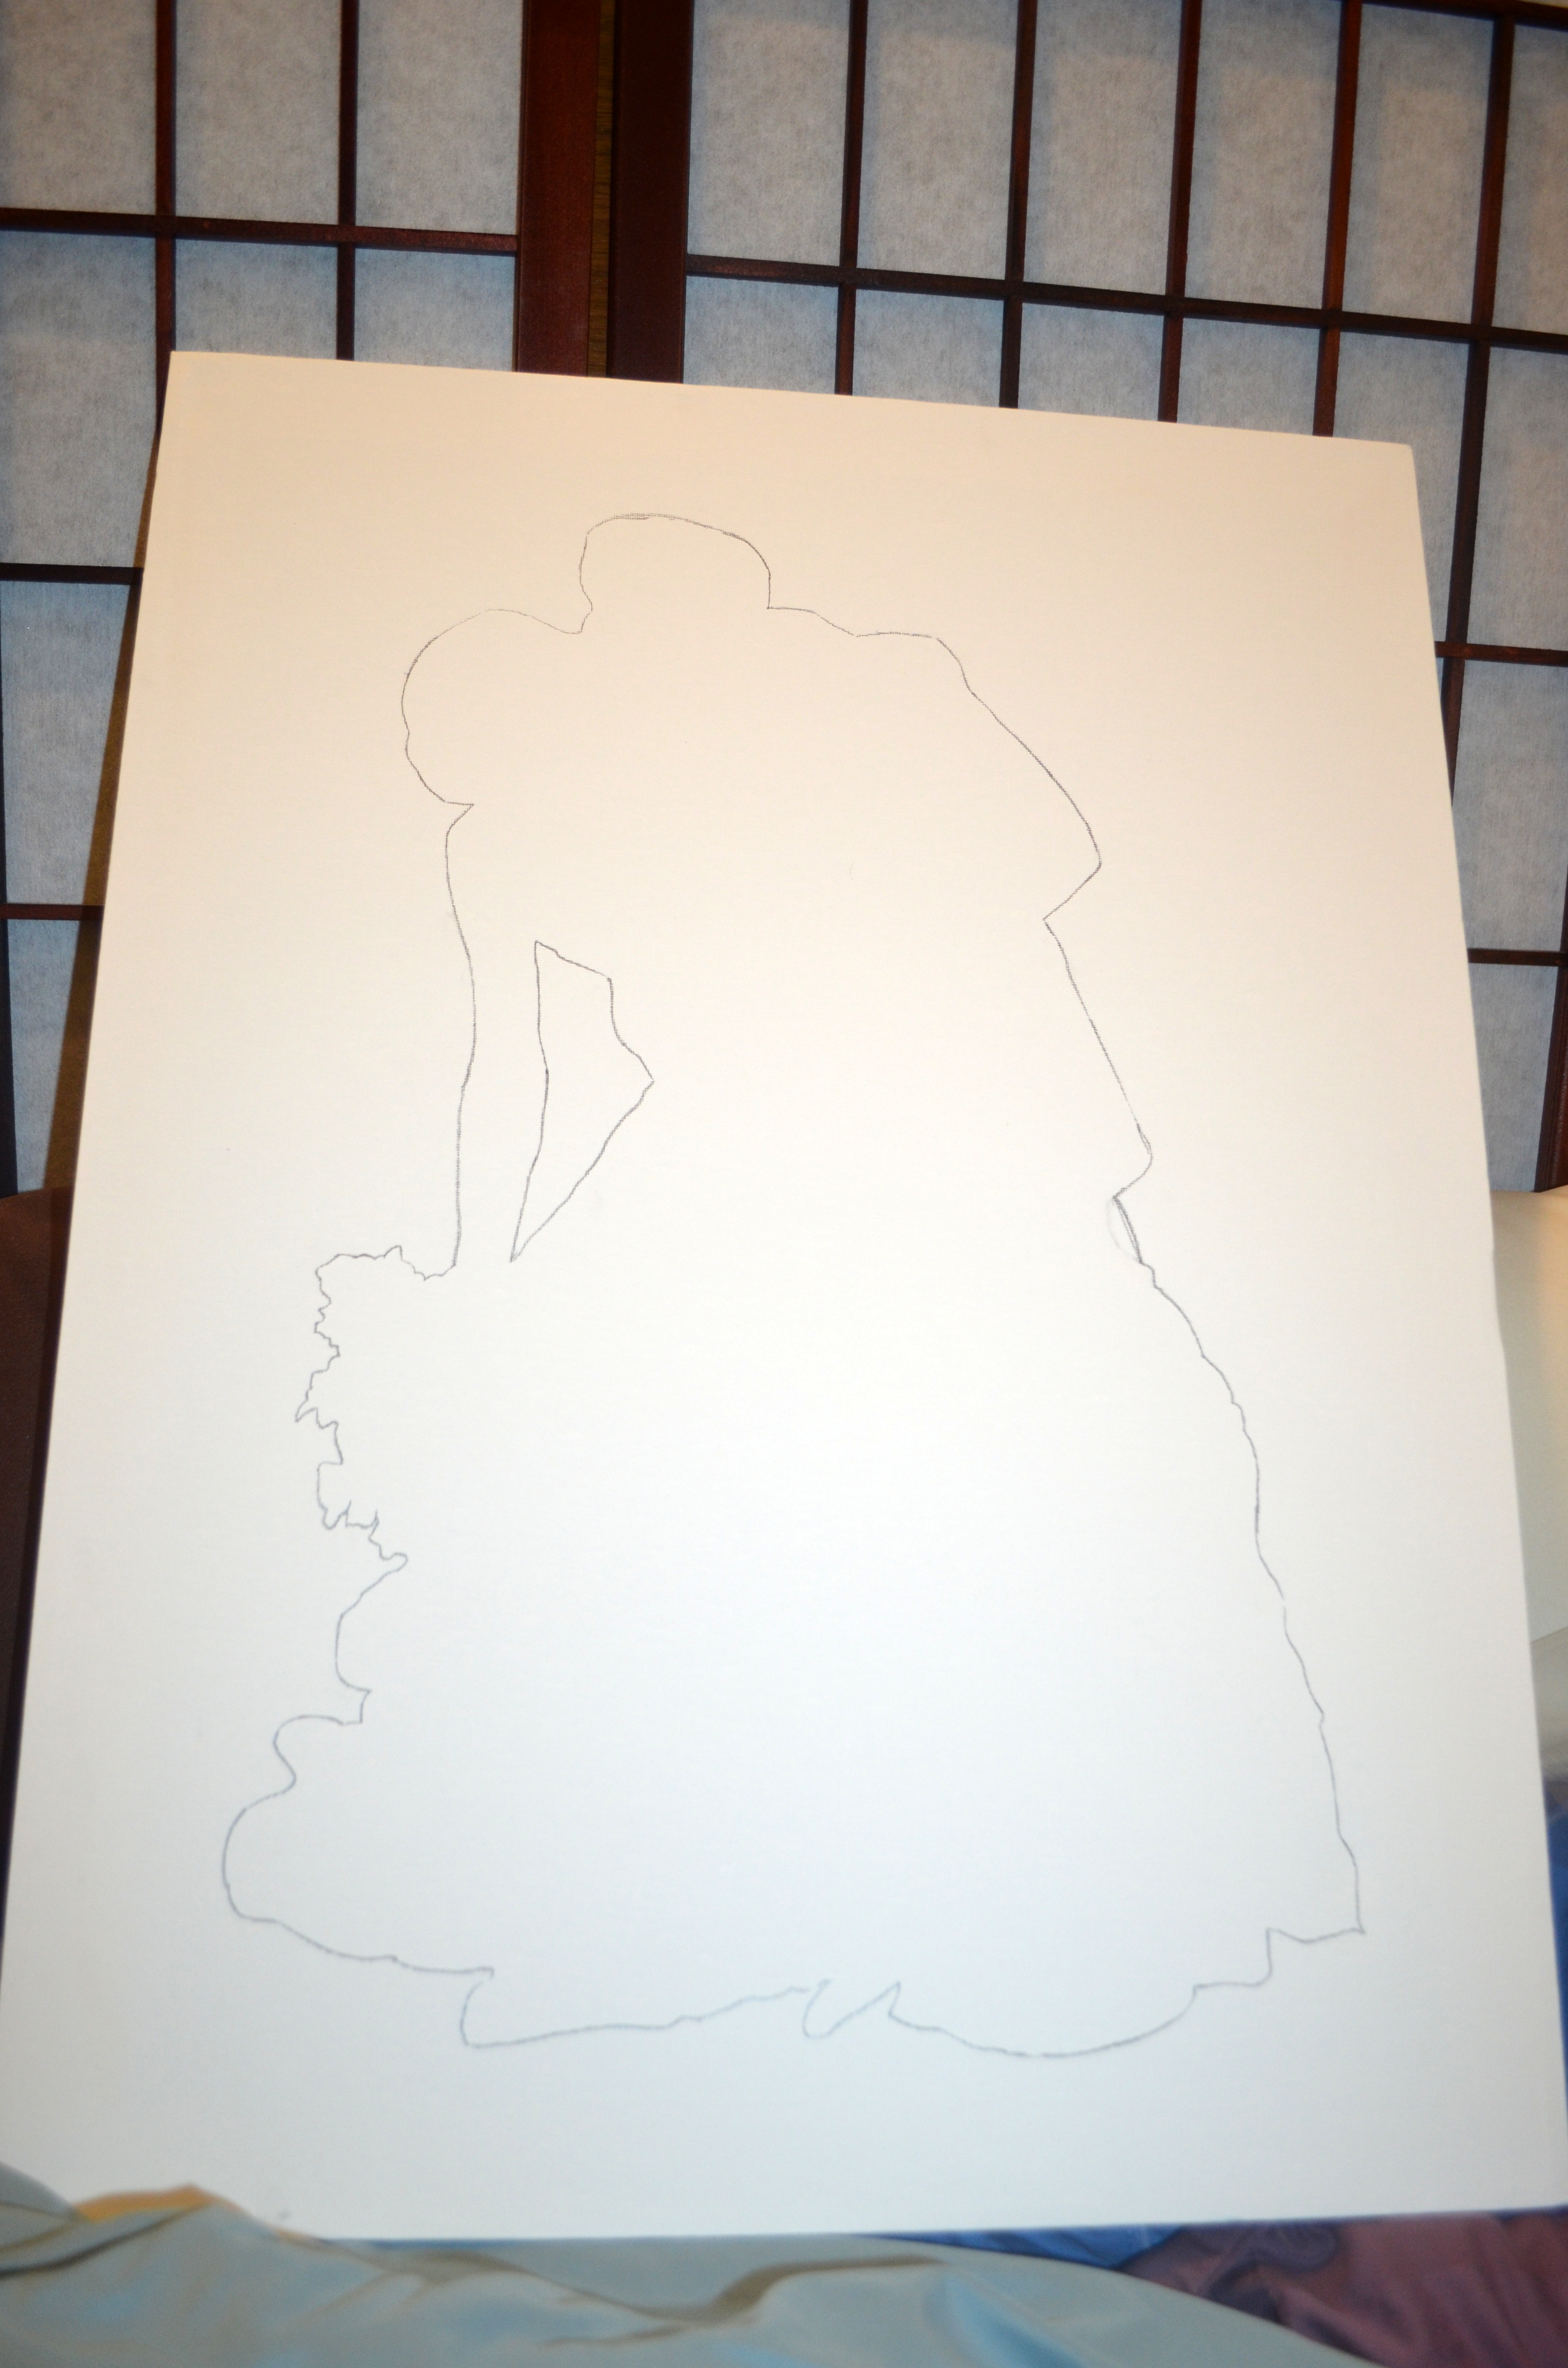
So i turned it into this:
(Yeah - it's propped up on the guest bed since i also do my crafting in that room as well. I don't have what people call a "studio." Or a "table.")
I started off by using Microsoft Paint (shut up) because i don't have any poster-making fancyware. I just cut and pasted parts of this pic into Paint and made them all the same size, then moved them over to Word and printed them out. LIke i said: no fancyware. Don't judge me.
Then i got at it with my coke nail/Xacto knife:
After i cut them all out, I taped them together and put 'em on the canvas:
I traced it with pencil first...
And then followed it up with paint:
Then i filled it in. This is how poor people do things.
And here it hangs!
And since i feel the need to defend myself...
Soon on the list of things to do: ceiling fan.
Friday, September 28, 2012

Happy Earth Day


There's no wrong way to celebrate earth day, except for maybe pouring oil straight down the throat of a baby seal or setting the Gulf on fire, BP. Cutting down a tree may or may not be on that list as well. I'm no expert. But it just so happens to be the way we celebrated last year.
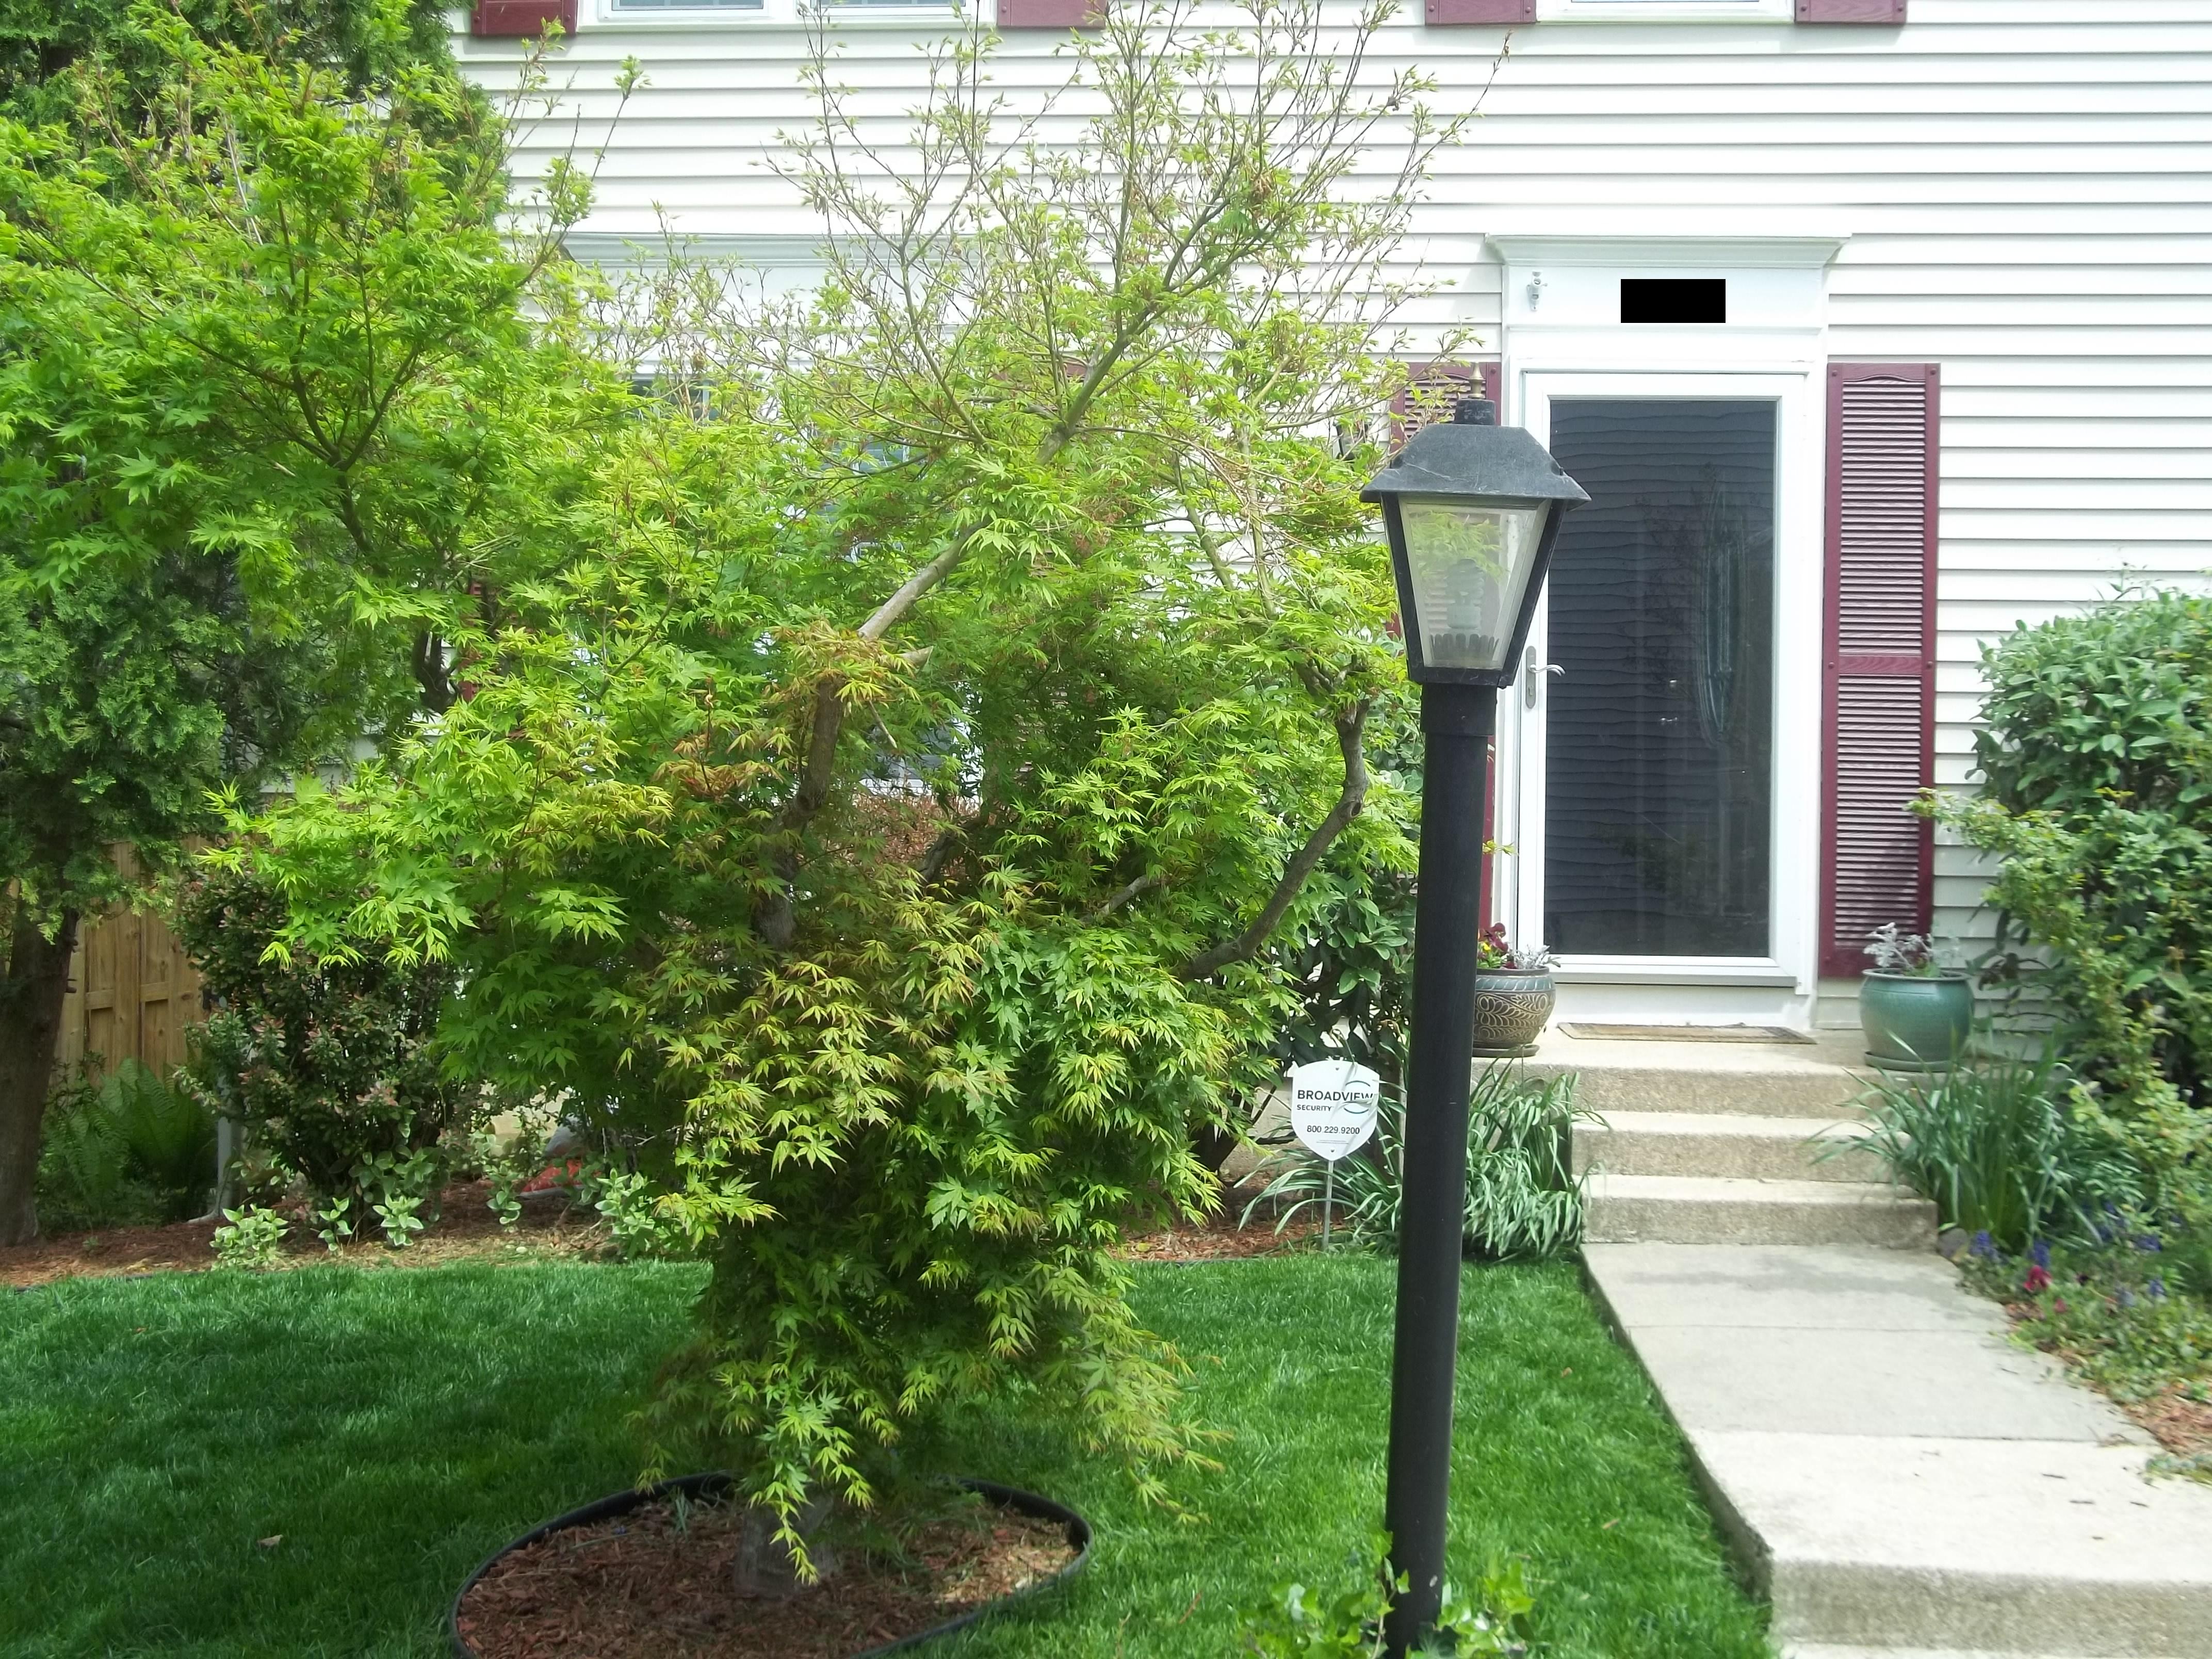
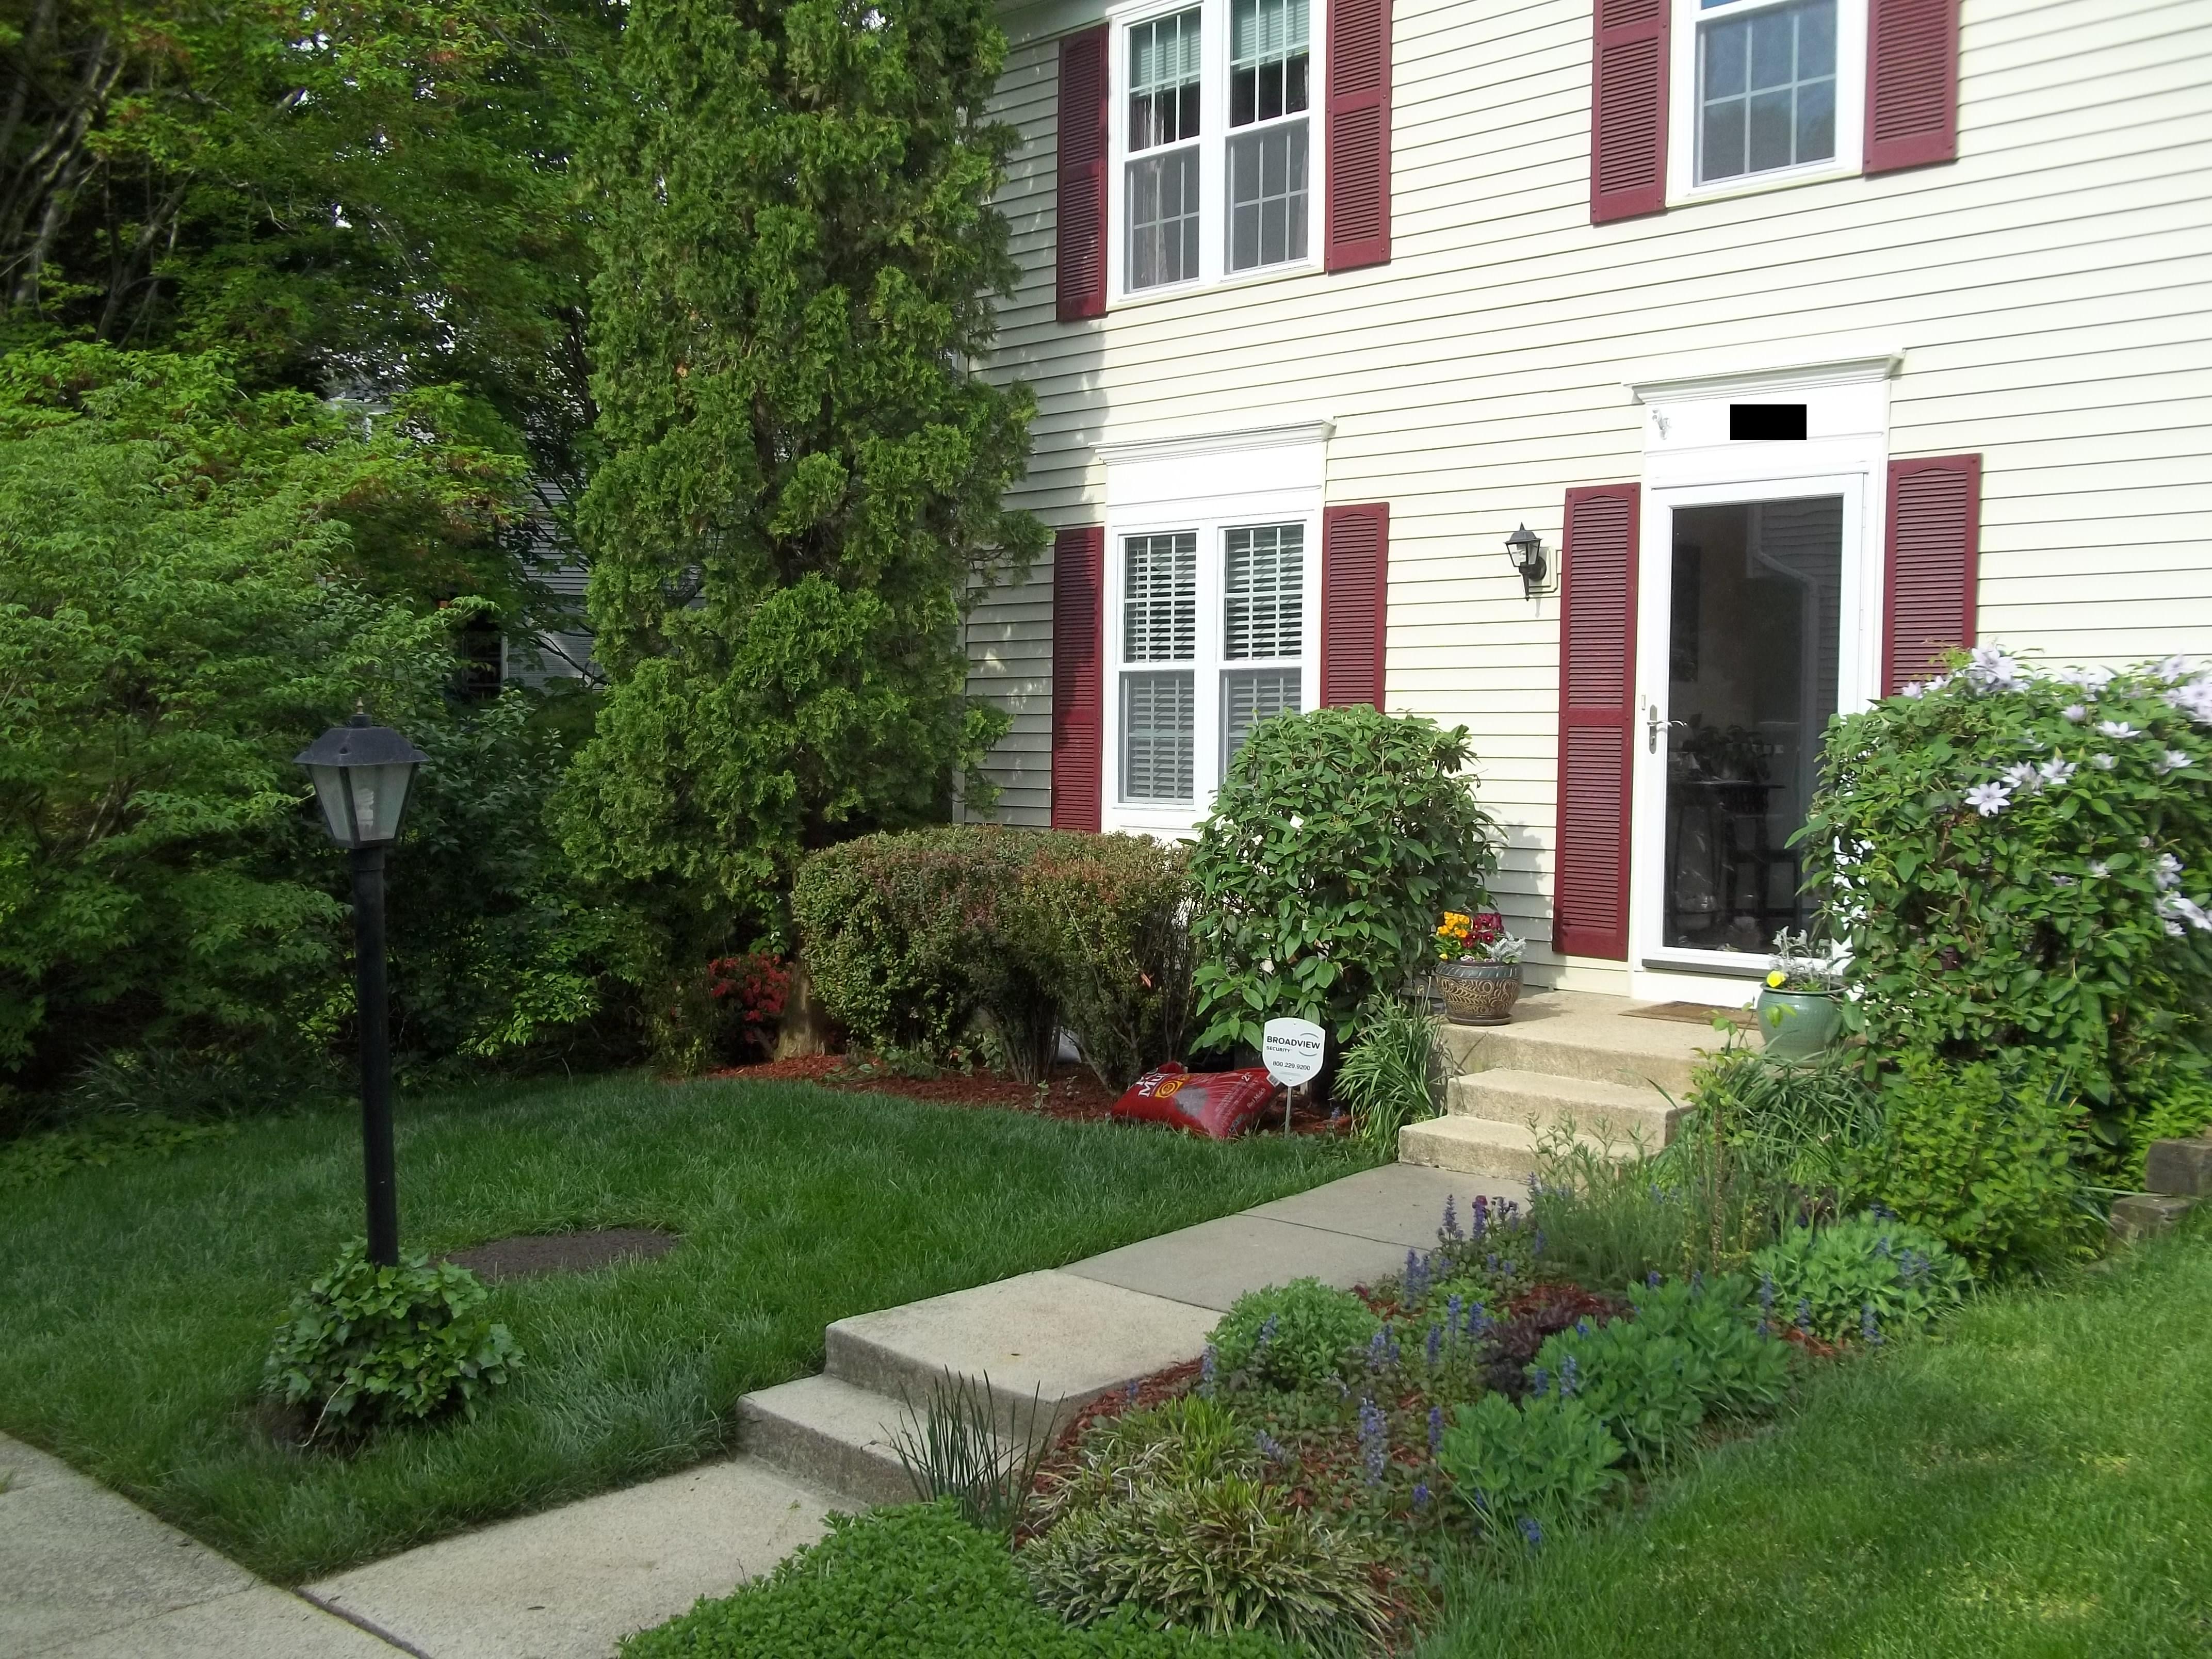
We had this Japanese maple that was crudely pruned by the previous owners of the house and created a huge aesthetic problem for the yard:
It pretty much usurped the whole yard and made it quite difficult to grow the thick, lush grass you see in the pictures and didn't help at all with curb appeal seeing as how you couldn't see the bottom part of the house.
Quick backstory: when i was a young lass at home for the summers from cotillion school, my dad would trim the trees in our yard by removing a few branches. And by "removing a few branches," i mean "leave only a stump." Well, Dad, this post is for you.
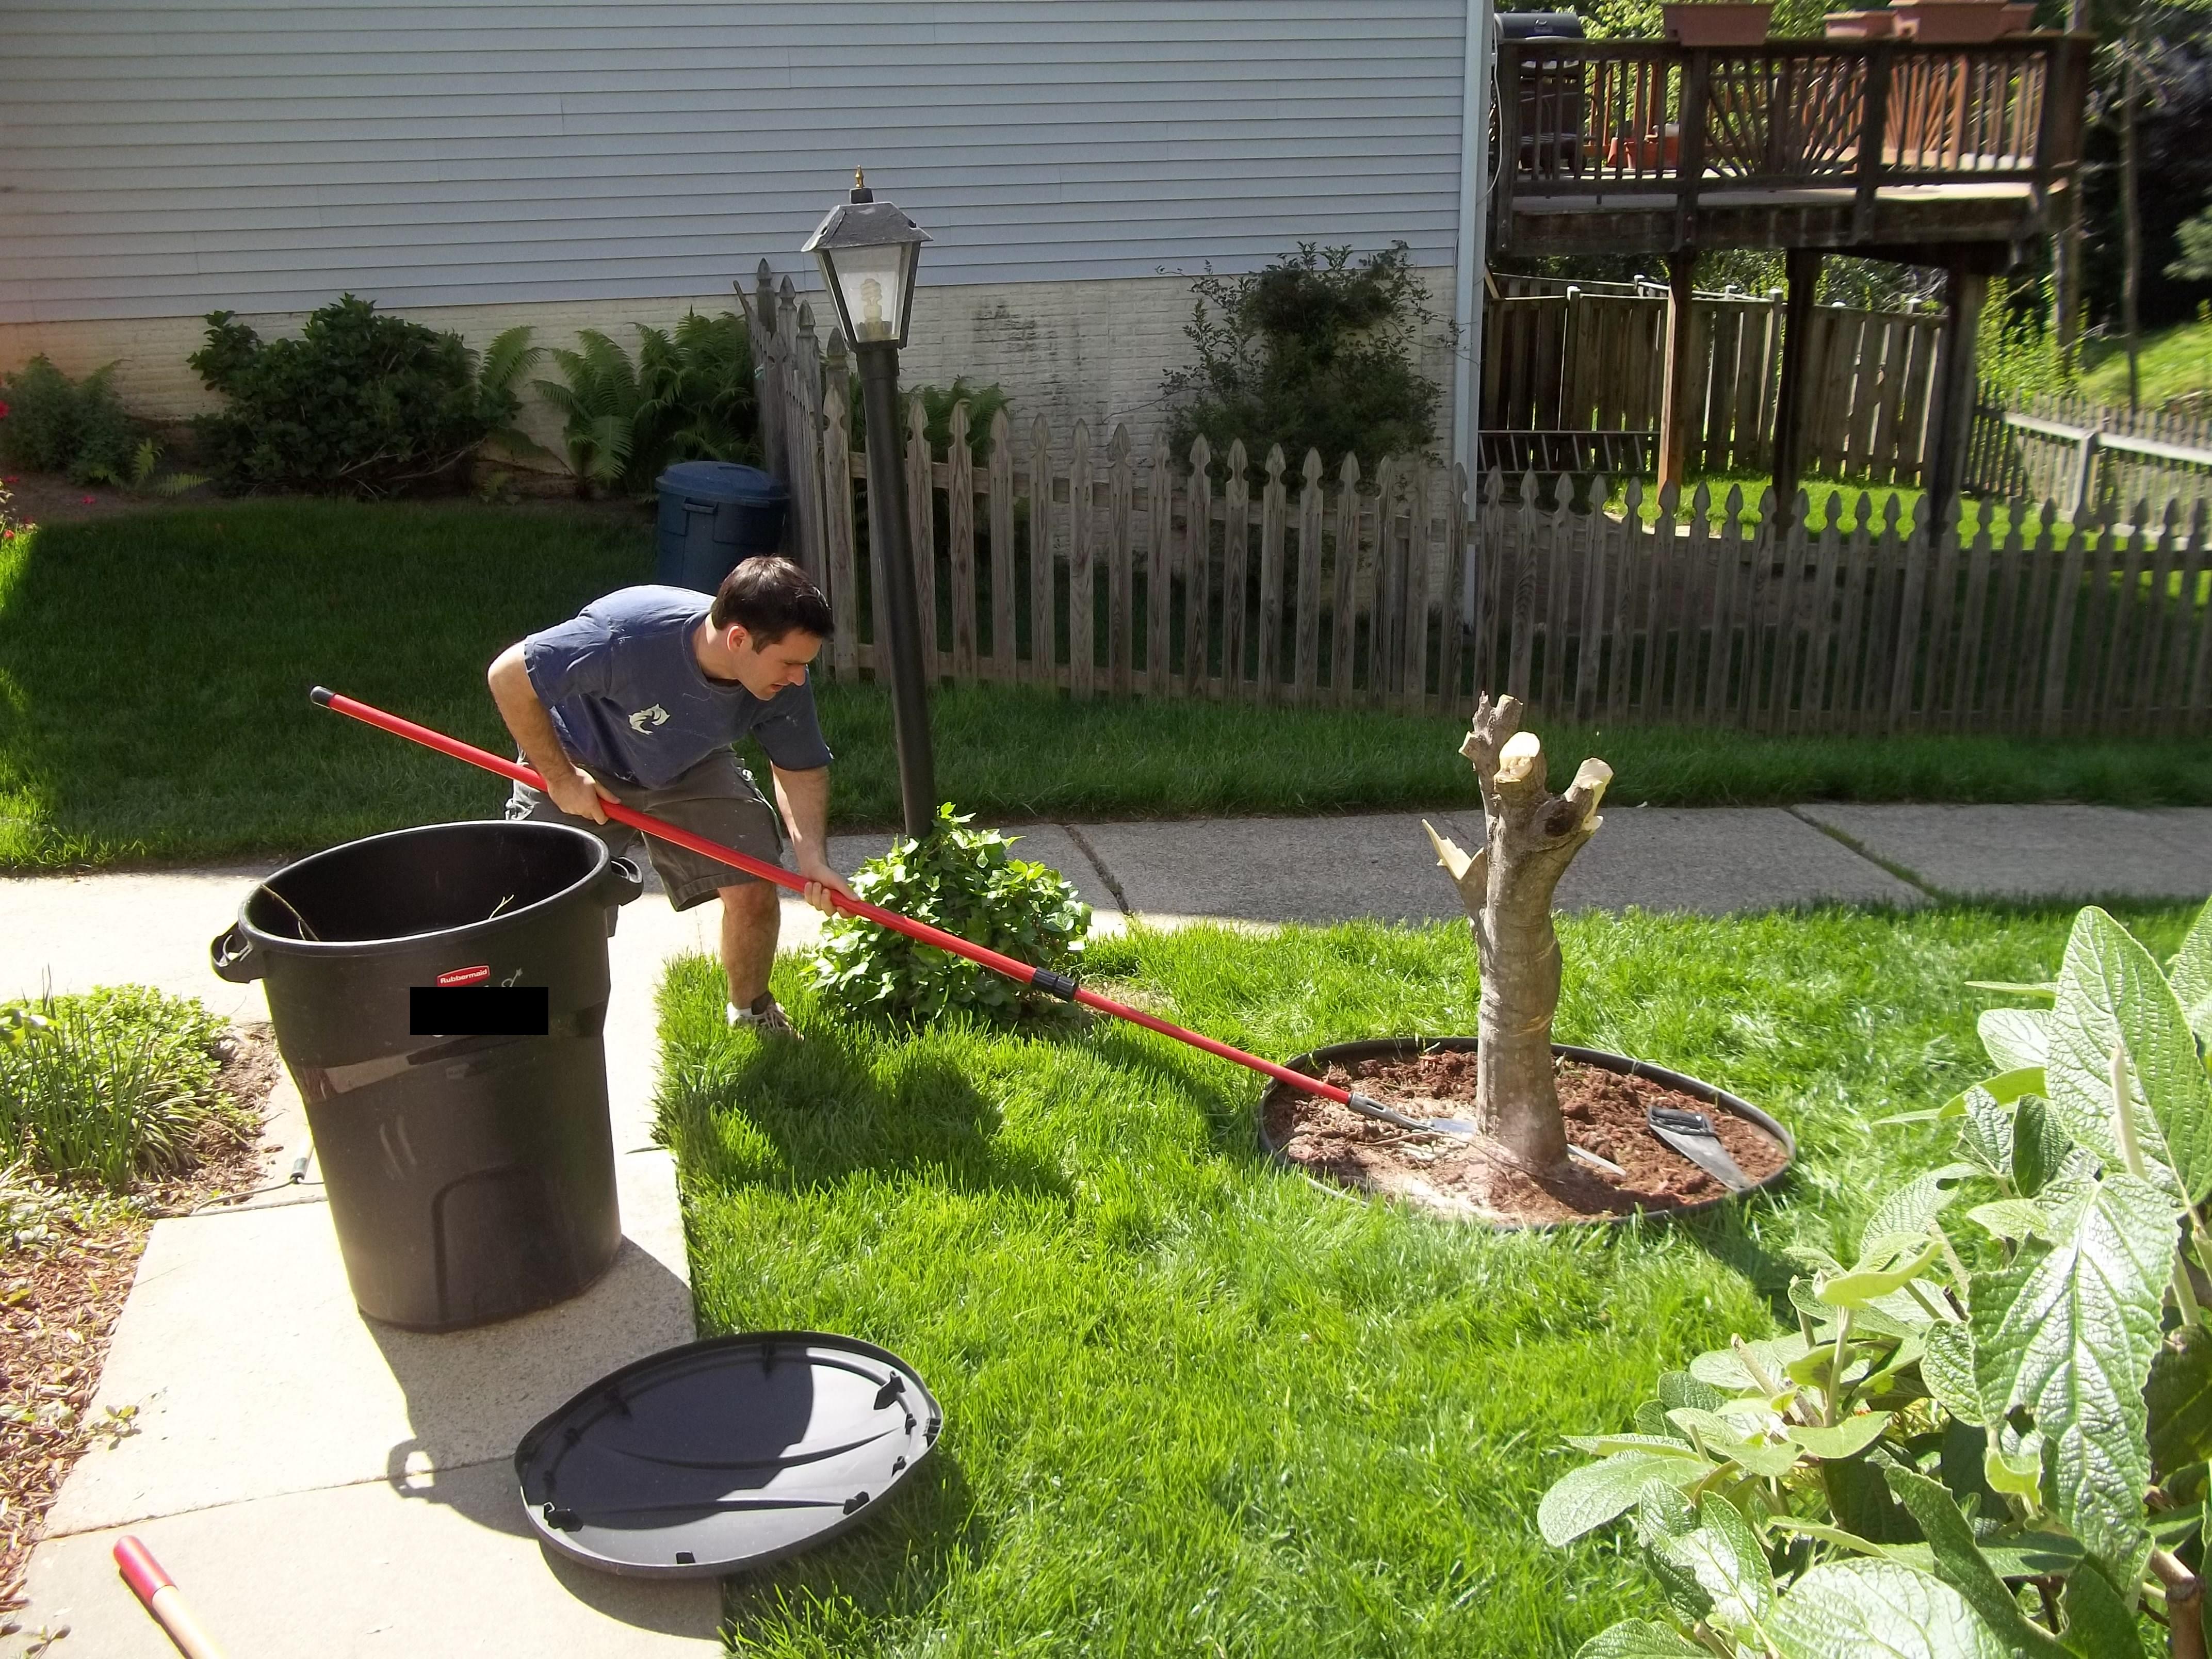
I made my old man proud and removed a few branches.
And because i have weak girly muscles and sometimes need help lifting q-tips, i summoned my big-armed husband to Finish Him (Mortal Kombat).
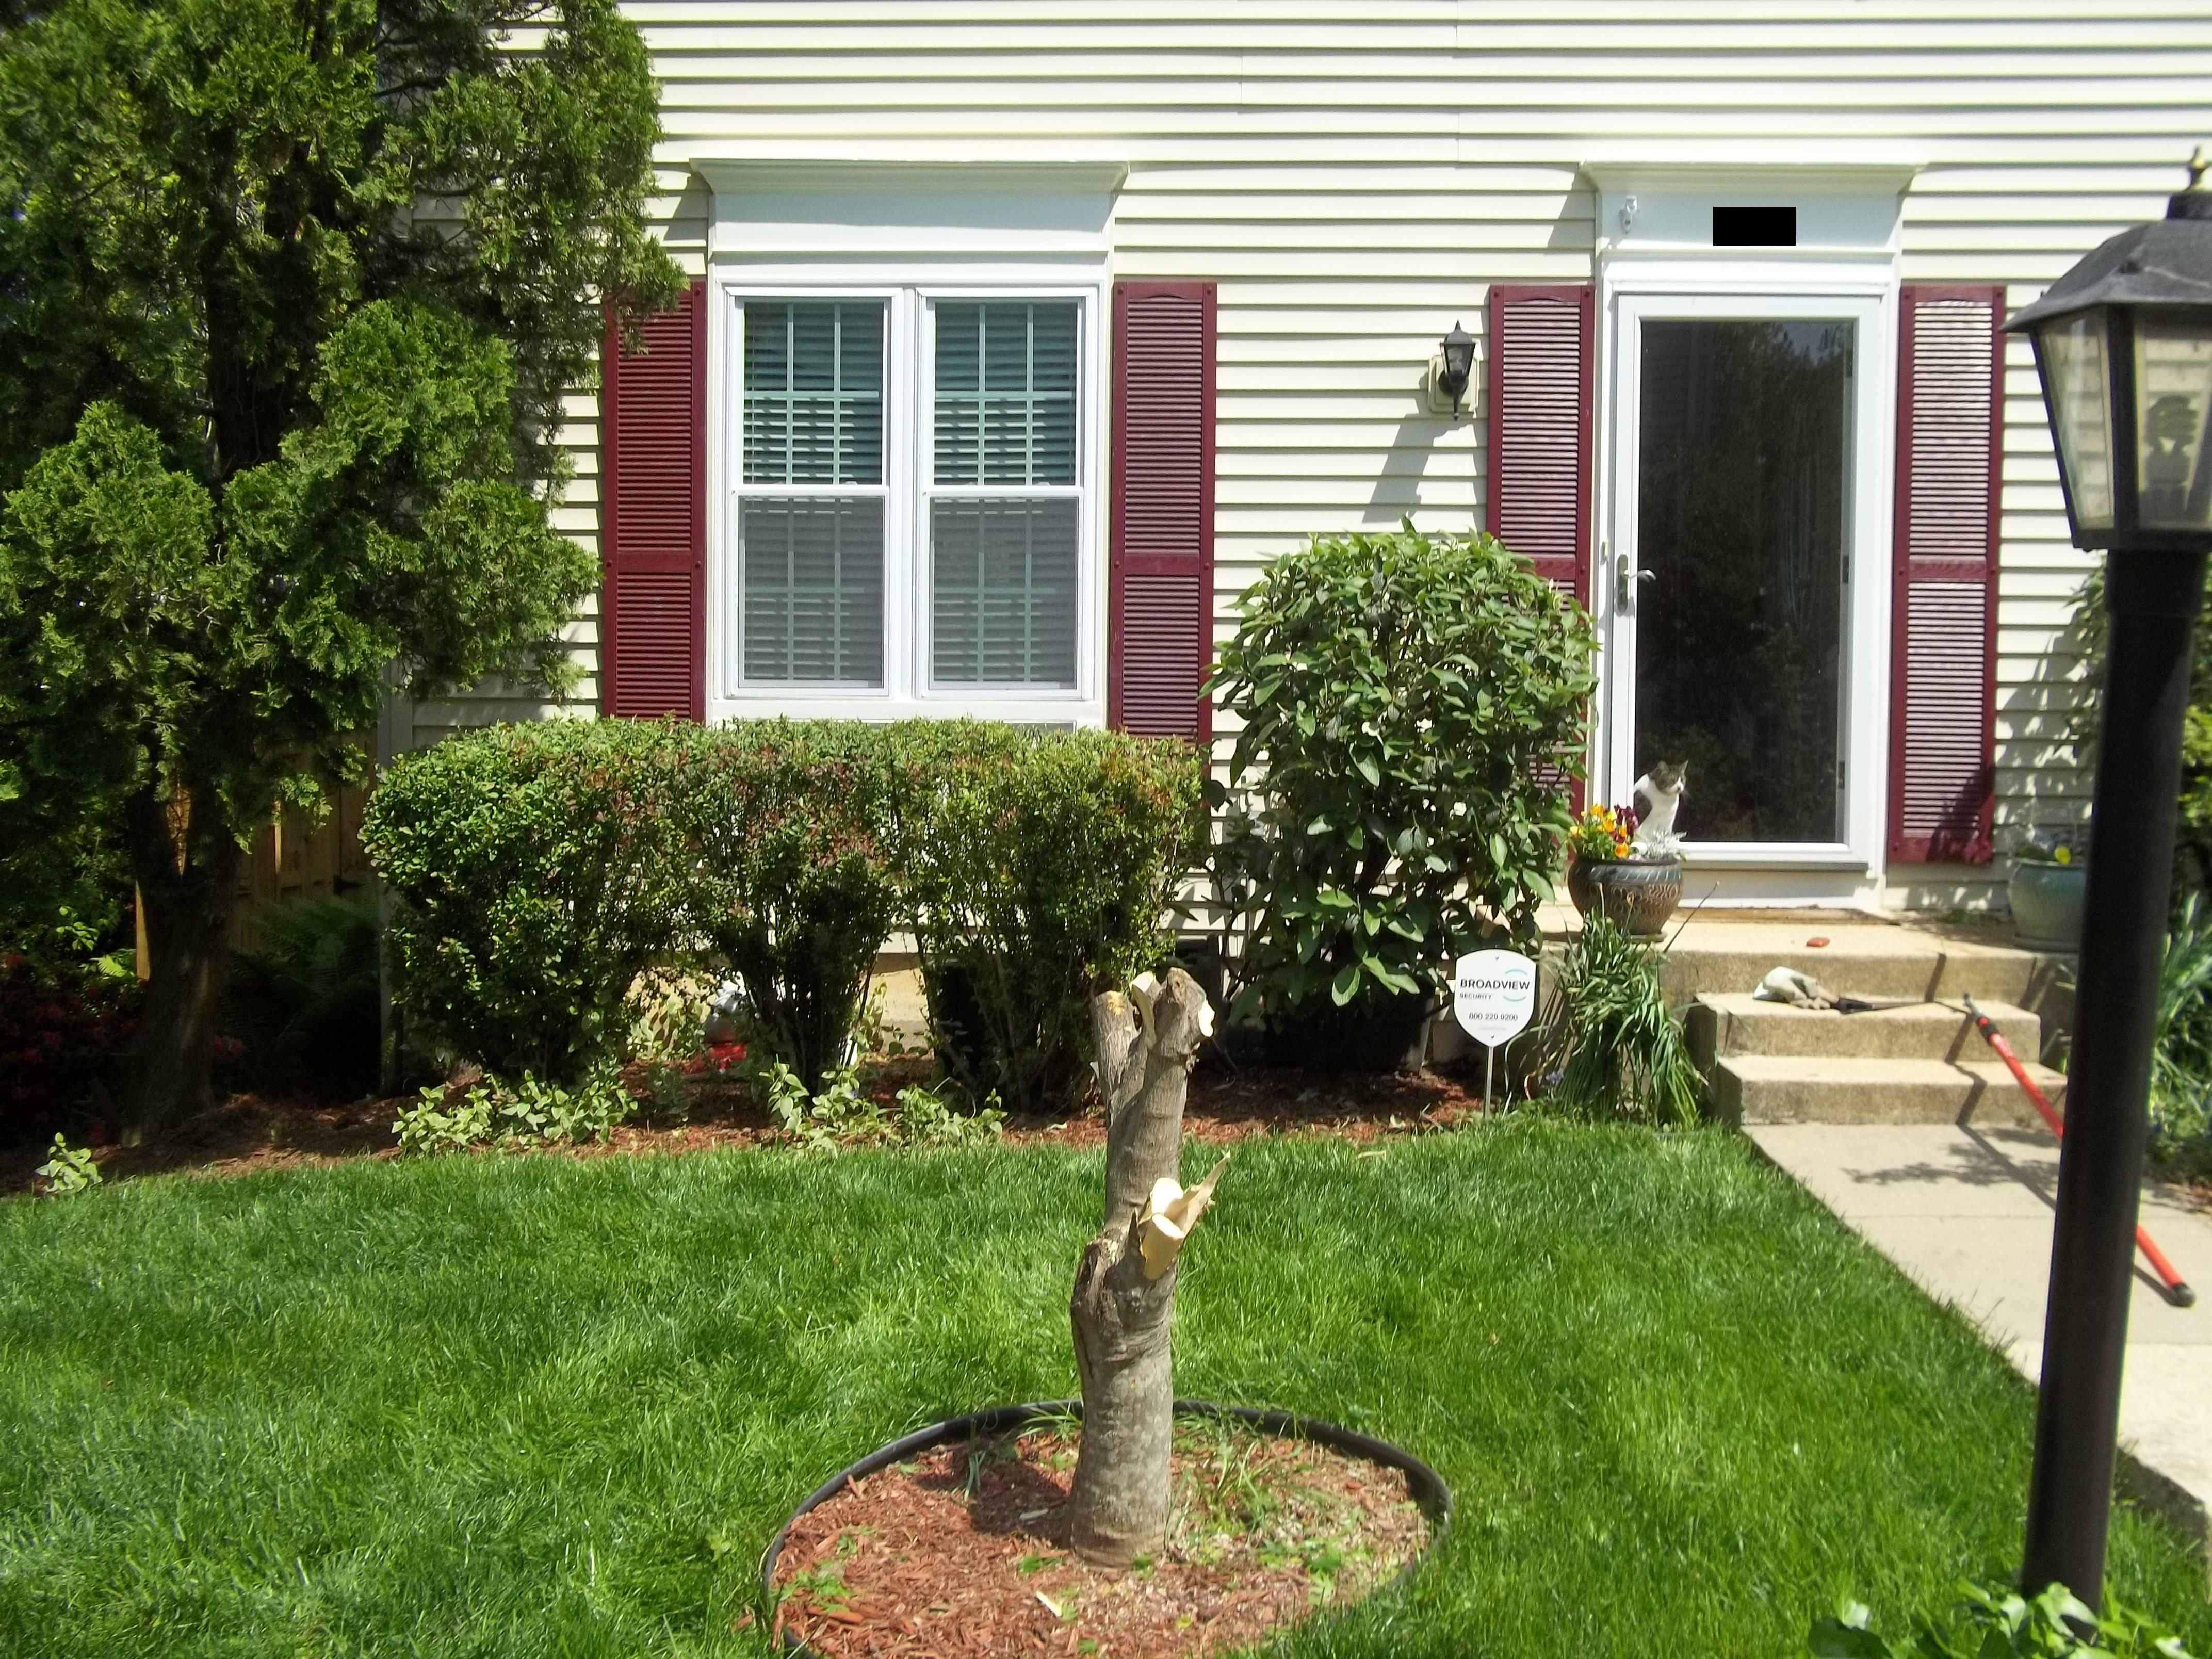
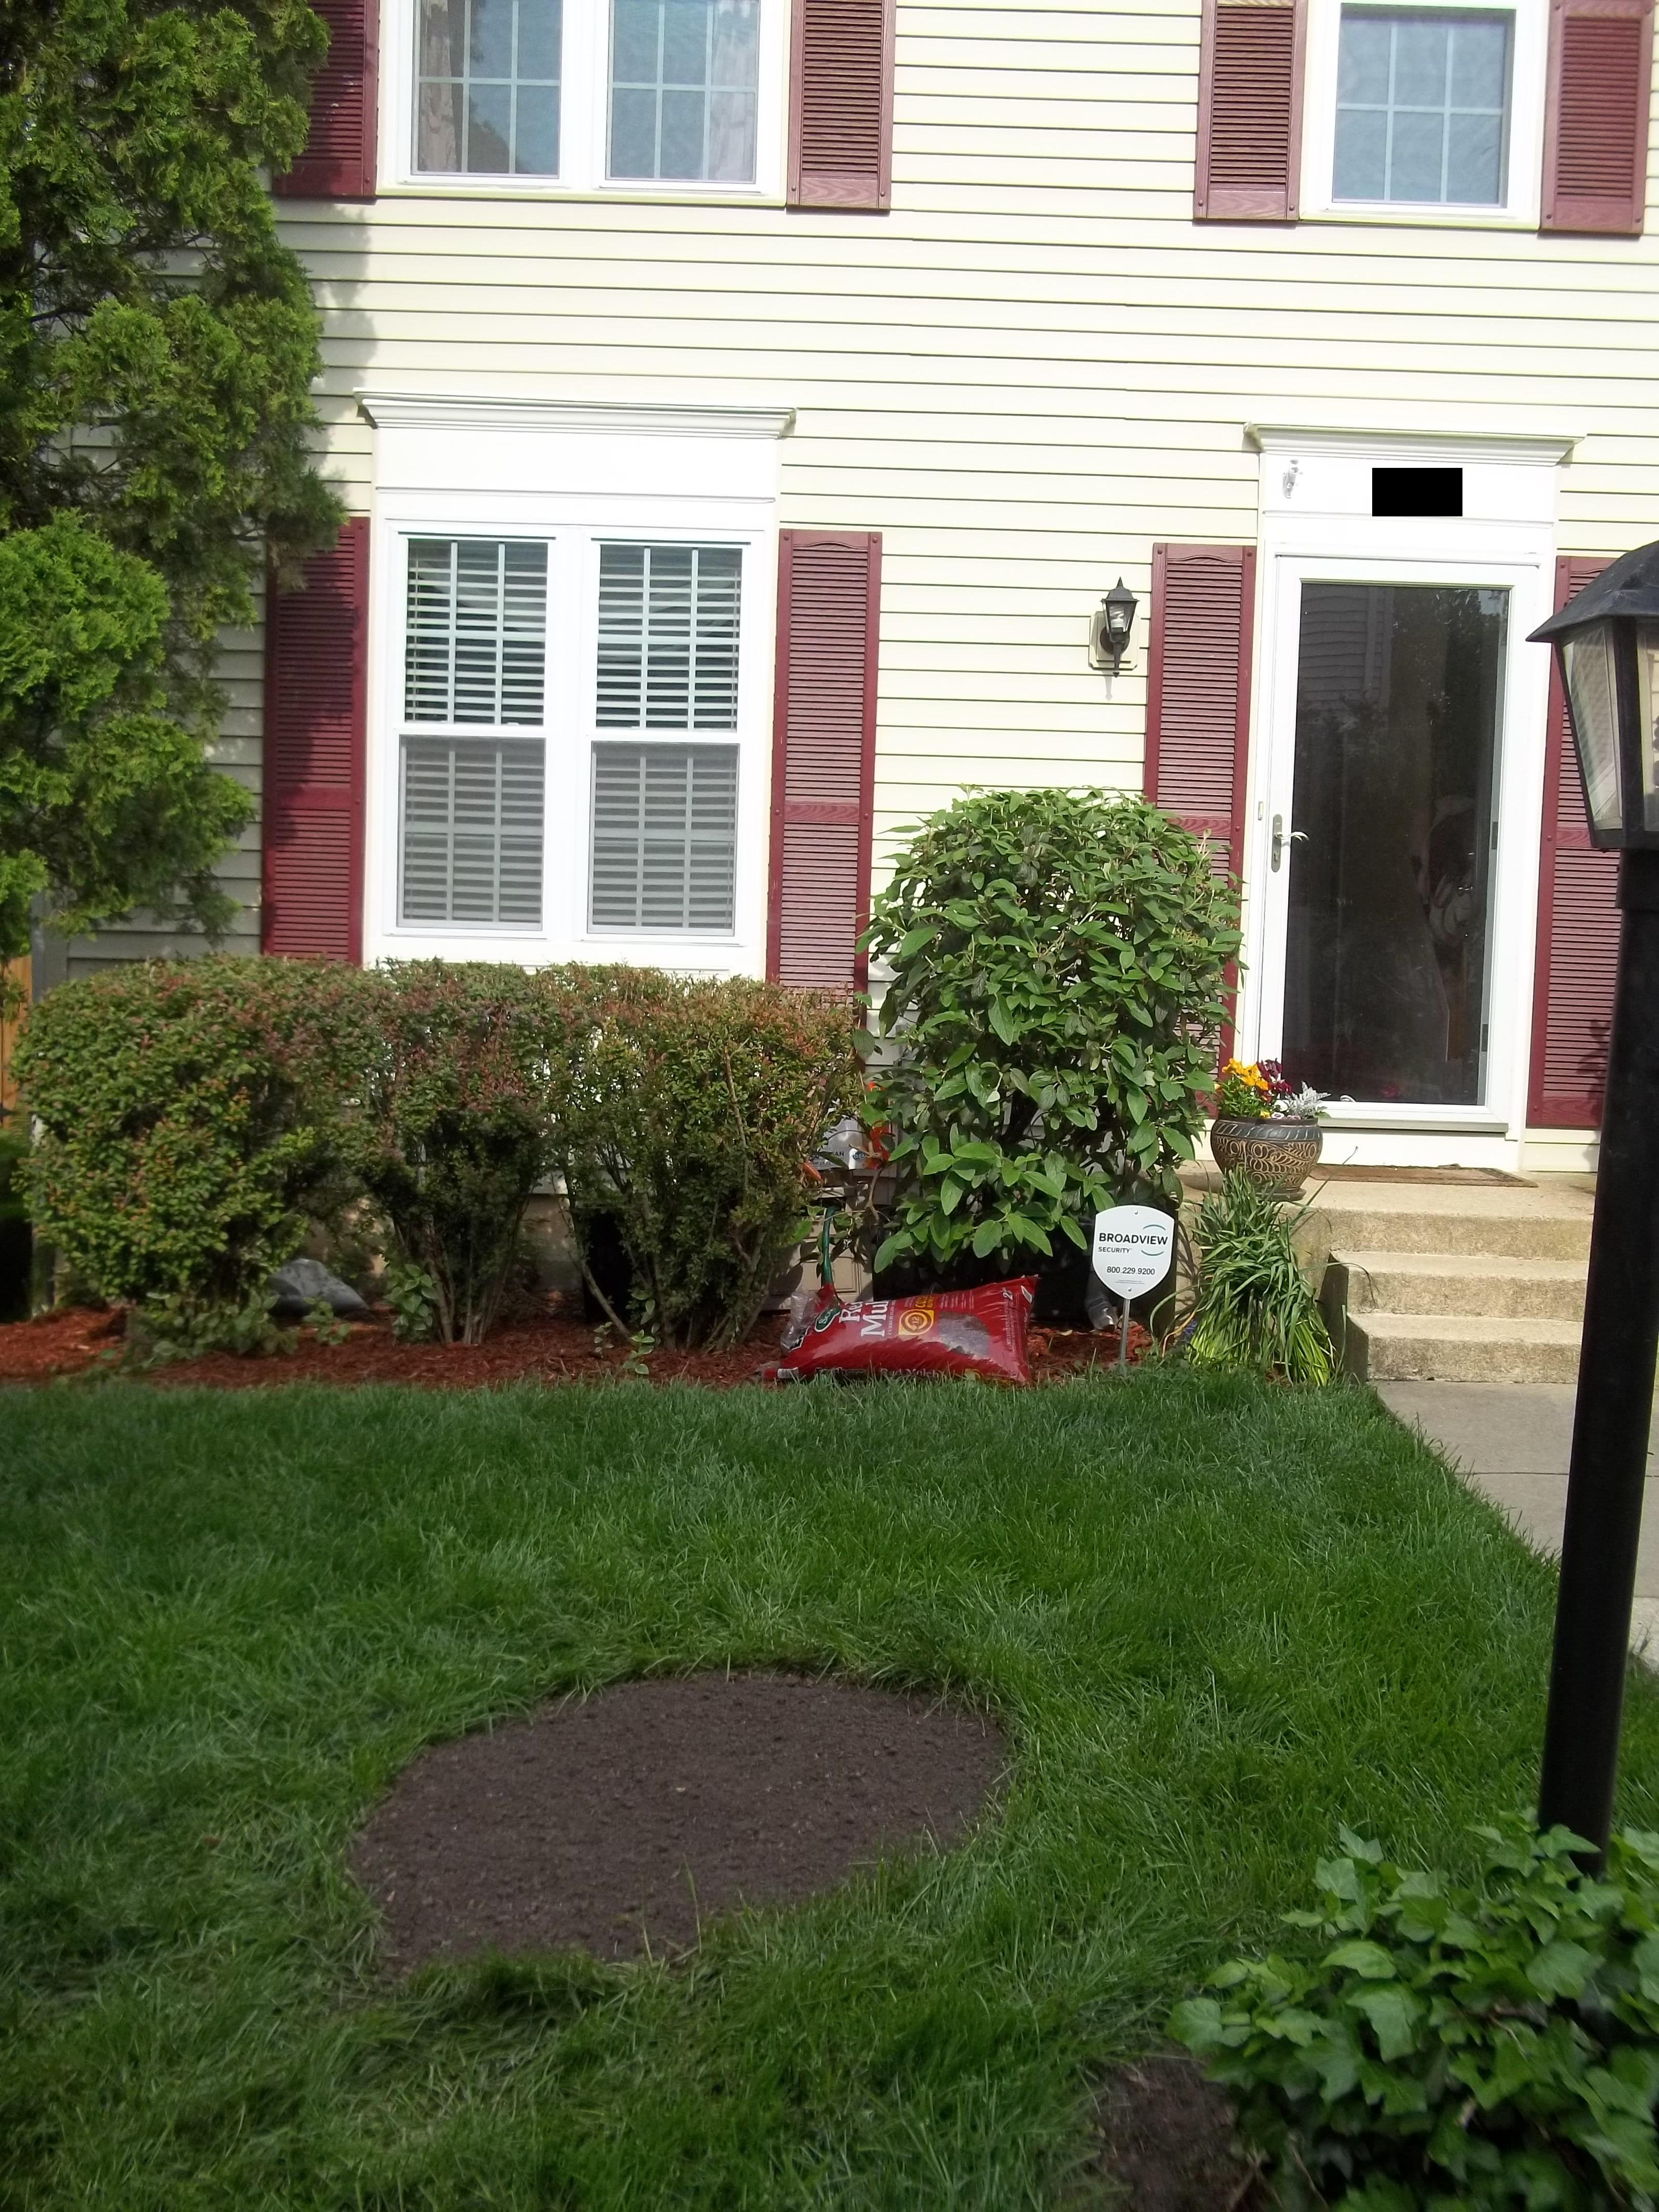
As you can see, the view from our house is the broad side of someone else's house because wtf, layout committee?? But at least now you can see our house that's been banished somewhere off in the corner now that it's not being covered by some haggard tree.
Here's some before and afters...
Before:
After:
Before:
After:
Sexy, right? Sidenote: i wonder when they're going to make a Captain Planet movie.